Mortar Types for Brick: How to Choose the Right One for Ontario Homes
Learn the main mortar types for brick and how to choose safely for Ontario homes—especially older brick. Includes a quick selector and FAQs.
On this page
By Rodrigo — 13 years in masonry, 800+ projects completed across the GTA

We recently tore out a "professional" repointing job on a 1905 Hamilton home. The repair was barely three years old and already crumbling. The problem? The contractor used Type S mortar on soft heritage brick.
The hard mortar didn't move with the brick. Instead, the brick cracked. What should've been a routine tuckpointing job became an expensive brick replacement project.
This happens more than you'd think. Mortar type isn't just a technical spec—it's the difference between a repair that lasts 50 years and one that destroys your brick in 5.
In this guide, you'll learn the main mortar types, which one your Ontario home likely needs, and how to avoid the "stronger is better" trap that damages heritage brick.
Key Takeaways
- ✅ Most Ontario brick homes can use Type N in many above-grade situations, but context matters
- ✅ "Stronger mortar" can be a mistake on older/softer brick—it pushes damage into the brick
- ✅ Older homes and heritage brick often need lime-based or softer mortars (compatibility first)
- ✅ If your home is pre-1930, has a chimney, or shows recurring mortar failure, book an assessment
- ✅ Not sure which mortar type you need? Request an assessment to have a mason evaluate your specific situation
Quick Answer: Which Mortar Type Do I Need?
Rule of thumb: Match mortar to the brick and the exposure. When in doubt—especially with pre-1930 brick—choose compatibility and get an assessment.
| Mortar Type | Best For | Where You'll See It | Main Risk If Misused |
|---|---|---|---|
| Type N | Most typical residential above-grade walls | Post-1940 homes, chimneys above roofline | Too hard for some old/soft brick |
| Type S | Higher load, closer to grade | Foundations, retaining walls, ground-level | Often too strong for older brick |
| Type O | Softer mortar for older brickwork | Older homes, some interior/low-load | Can be too soft in high exposure |
| Type M | Very high strength (rare for typical walls) | Specialty/high-load masonry | High risk on brick—can cause spalling |
| Type K | Very soft, historic applications | True heritage/very soft masonry | Not for general exterior loads |
| Lime Mortar | Heritage/soft brick, breathability | Pre-1930 homes, heritage restoration | Needs correct spec and installation |
Safety note: If bricks or mortar are loose—especially on a chimney—don't climb ladders. Book a professional inspection.
Not sure which category fits your home? Request an assessment to have a mason evaluate your specific mortar needs.
Why Mortar Type Matters (The "Sacrificial" Principle)
Here's something most homeowners don't know: mortar is designed to fail first.
When temperature swings move your masonry—and in Ontario, we're talking -20°C winters to +30°C summers—something has to give. If the mortar is softer than the brick, the mortar absorbs the stress. If the mortar is harder than the brick, the brick cracks instead.
This is why "stronger mortar" isn't always better. On a 100-year-old home with soft, hand-fired brick, using Type S mortar is like putting a rigid cast on a flexible joint. The stress has nowhere to go except into your brick.
Mortar Types Explained in Plain Language
Type N — The Workhorse
Mix ratio: 1 part cement : 1 part lime : 6 parts sand
Type N is what you'll find in most post-war Ontario homes—probably 80% of the houses we work on. It's the reliable middle ground. Not too hard, not too soft.
If your house was built between the 1940s and 1980s, and the original mortar is still holding up, it's almost certainly Type N. When we repoint these homes, we match it.
Use it for: Above-grade exterior walls, chimneys above the roofline, most residential brick
Type S — The Strong Choice
Mix ratio: 1 part cement : 0.5 parts lime : 4.5 parts sand
Type S has more cement and less lime than Type N, making it stronger. It's designed for masonry that bears heavy loads or gets more abuse—think foundation walls, areas near grade level, or spots exposed to road salt.
The trade-off is flexibility. Type S doesn't forgive movement, which is why it's problematic on heritage brick.
Use it for: Ground-level work, below-grade masonry, high-load applications
Don't use it on: Soft heritage brick, pre-1930 homes, or anywhere the brick is visibly softer than modern brick
Type O — The Gentle Option
Mix ratio: 1 part cement : 2 parts lime : 9 parts sand
Type O is weaker than N—and that's the point. More lime means more flexibility. For heritage masonry with soft, hand-fired bricks, this weakness is a feature.
Many Ontario homes built before 1920 have brick so soft you can scratch it with a key. For these homes, Type O or true lime mortar is the only safe choice.
Use it for: Historic buildings, soft-fired bricks, above-grade non-structural applications
Type M — Overkill for Most Homes
Type M is the strongest standard mortar—and almost never appropriate for residential brick walls. It's designed for heavy structural loads, not your house.
We mention it because some contractors default to "strongest available." On brick, Type M can accelerate spalling faster than any other mortar type.
Use it for: Specialty structural masonry, rarely residential
Type K — Heritage Specialist
Type K is very soft, designed for truly historic masonry with extremely soft, hand-made brick. It's not common, but if you have a museum-quality heritage building, this might come up.
Use it for: Historic preservation projects, very soft 19th-century masonry
Lime Mortar — The Heritage Standard

True lime mortar contains no Portland cement—just lime, sand, and water. Before Portland cement became common (around 1920), this was the only option.
Lime mortar is softer than any Portland cement mortar, which is the point. It cures slowly (sometimes months), allows water vapour to move through the wall, and actually strengthens with age.
For heritage masonry restoration in cities like Toronto and Hamilton, lime mortar isn't optional—it's often required.
How to Choose the Right Mortar for Your Home
By Home Age (Ontario Rule of Thumb)
| Home Built | Likely Mortar Needed | Notes |
|---|---|---|
| Pre-1920 | Lime mortar or Type O | Soft brick, lime-based original mortar |
| 1920–1940 | Type O or soft Type N | Transition period, assess brick hardness |
| 1940–1980 | Type N | Standard post-war construction |
| Post-1980 | Type N | Modern specs, harder brick |
By Wall Location
- Above grade (typical walls): Type N standard
- Near grade (splash zone): May need Type S
- Foundation/below grade: Type S typical
- Interior walls: Type O acceptable
- Heritage structures: Type O or lime regardless of location
By Brick Condition
- Can scratch brick with a key? Soft brick—needs Type O or lime
- Brick flaking or spalling? May indicate prior wrong-mortar repair
- Sand visible in existing mortar? Likely lime-based original
- Mortar crumbling but brick intact? Good sign—compatible mortar
Ontario Climate Considerations
Ontario's freeze-thaw cycles are brutal on masonry. Water gets into pores and joints, freezes, expands, and forces things apart. The right mortar breathes with your masonry instead of trapping moisture.
This is why we're more conservative here than contractors in milder climates. What works in Texas doesn't work in Hamilton.
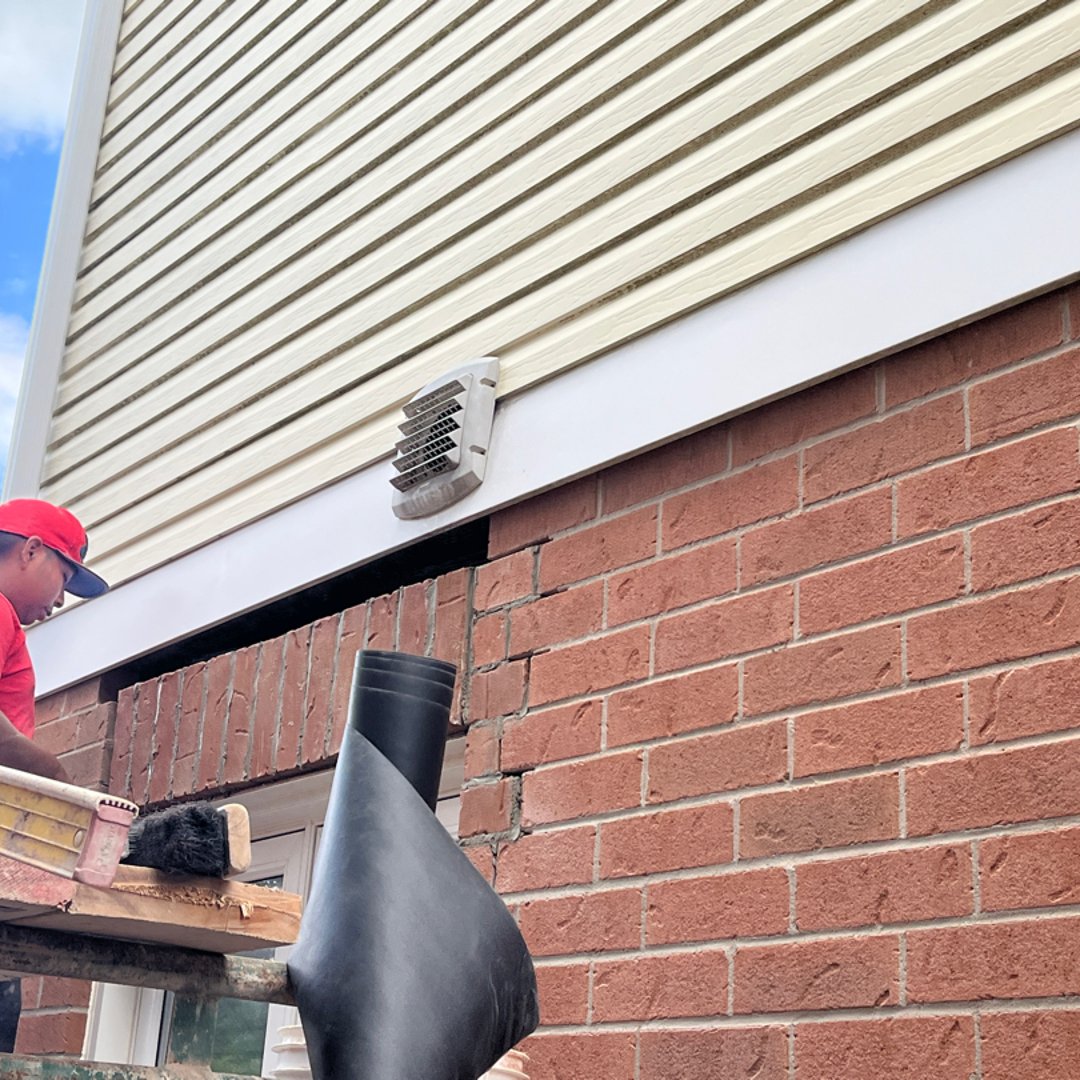
Mortar for Repointing and Tuckpointing
When you're repairing mortar joints, matching the original mortar is critical—not just for looks, but for performance.
What we check:
- Original mortar composition (lime vs. Portland cement)
- Brick hardness and age
- Joint profile and tooling style
- Mortar colour (sand determines colour)
Common repointing mistakes:
- Using Type N on pre-1920 soft brick
- Not matching mortar colour (looks like a patch job)
- Grinding joints too deep and damaging brick edges
- Using ready-mix instead of proper mortar
When it's done right, the results speak for themselves:
"Ryan and his team from Fix My Brick repaired the cracks in my mortar. The team was outstanding! Very efficient, very polite and very clean." — Chris B.
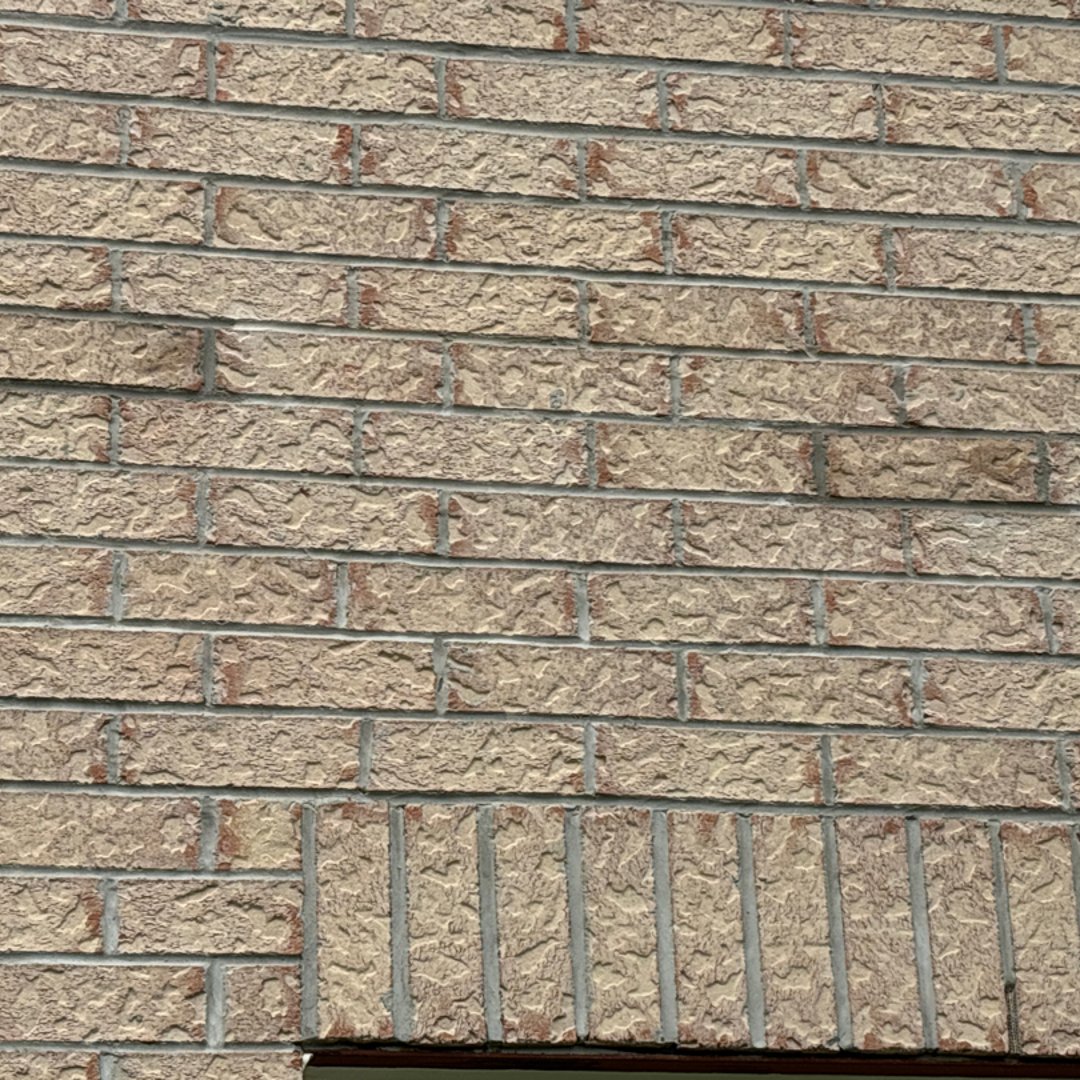
Why Mortar Colour Matching Matters
Mortar colour comes from sand—not cement. The sand source, size, and colour determine what the final mortar looks like.
When we match mortar, we:
- Sample existing mortar to analyze sand colour and texture
- Source matching sand (or blend sands to match)
- Create test panels before starting the full job
- Let test panels cure to see the true colour
"Ryan and Paolo matched our brick perfectly—you can't even tell where the old part ends and the new part starts." — Bridget C.
Mismatched mortar screams "repair job" and can affect resale value. Buyers and inspectors notice.
What a Professional Assessment Typically Includes
When we assess a home for tuckpointing or mortar repair, here's what we're looking at:
- Home age and construction style — including heritage considerations
- Brick hardness/condition check — signs of spalling, softness, prior repairs
- Mortar condition and compatibility — what's there now vs. what should be there
- Moisture/water-shedding review — flashings, caps, parapets, grading
- Scope recommendation — what must be repaired now vs. can be monitored
- Mortar approach and colour match plan — exact spec for the repair
This isn't something you can DIY from photos. Brick age, hardness, and exposure all interact.
What Happens If You Ignore Mortar Problems
Crumbling mortar isn't just ugly—it's a water entry point. Here's the typical progression:
- Mortar recedes/cracks → gaps open between brick
- Water enters → freeze-thaw damage accelerates
- Joints fail further → loose bricks, structural risk in severe cases
- Interior symptoms appear → staining, damp spots, musty odours
If the wrong mortar was used previously, the damage shifts into the brick itself. Spalling (flaking brick faces) is harder and more expensive to fix than mortar failure.
Read more: Signs of Impending Masonry Mortar Failure
When to Call a Professional
You need professional help if:
- Your home was likely built before 1930 (or you're unsure)
- Chimneys, parapets, or anything at height needs work
- You see loose bricks, bulging sections, or recurring mortar failure
- Brick faces are spalling/flaking
- Prior repair looks "too hard" or is cracking away from brick edges
- Chronic wet areas or interior water staining
Ontario homeowners often underestimate the complexity. Mortar matching requires analyzing composition, hardness, and colour—not just buying a bag at the hardware store.
Get the Right Mortar for Your Brick
If you're seeing crumbling mortar, gaps between bricks, or signs of past bad repairs, don't guess. The wrong mortar choice can cost you more than the repair itself.
Fix My Brick offers professional assessments throughout Southern Ontario. We'll analyze your brick type, test your existing mortar, and recommend the right approach—no guesswork.
The right mortar type matters more than you think. Let us help you get it right.
Request a Free Assessment or call us at (905) 807-0404.
Related Resources
Need Professional Masonry Services?
Our expert team is ready to help with all your masonry repair and restoration needs across Ontario.