We Assess the Problem
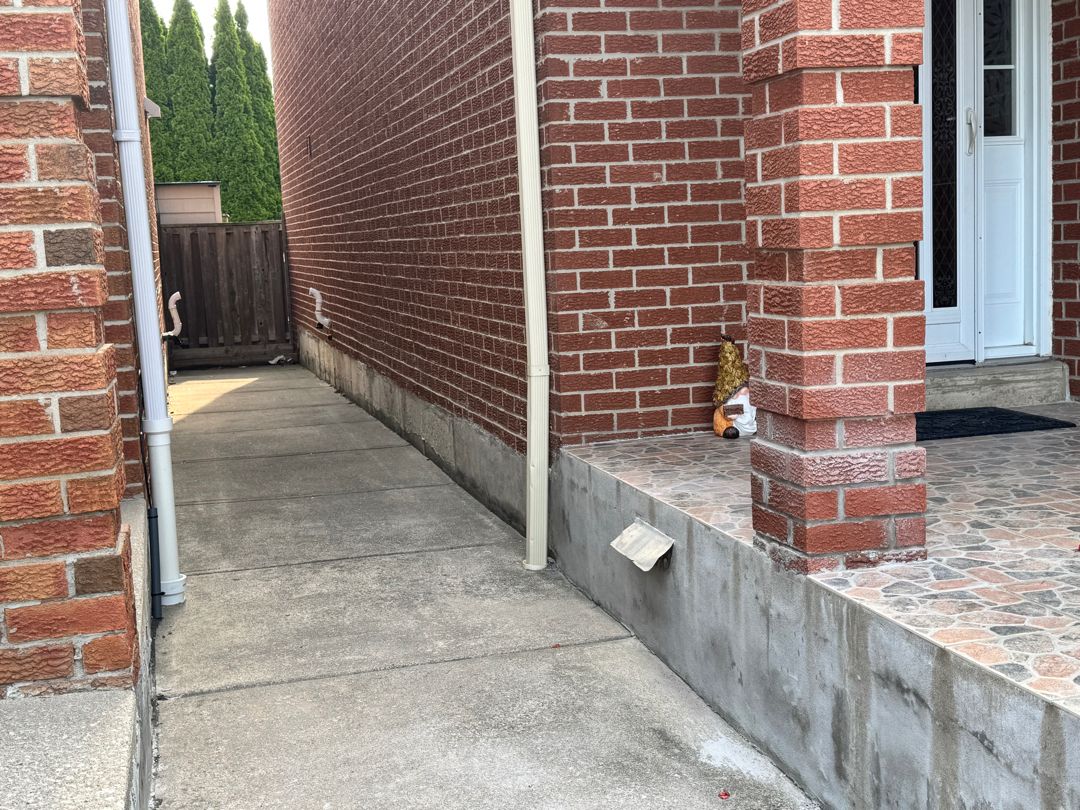
We inspect the damage, identify what caused it, and plan the fix. No shortcuts—just a clear path to doing it right.


Real projects from across Ontario. Swipe to see more photos.


Removed and replaced damaged bricks with colour-matched units and fresh mortar joints.


Replaced 40+ spalling bricks with salvaged matching brick and repointed surrounding joints.


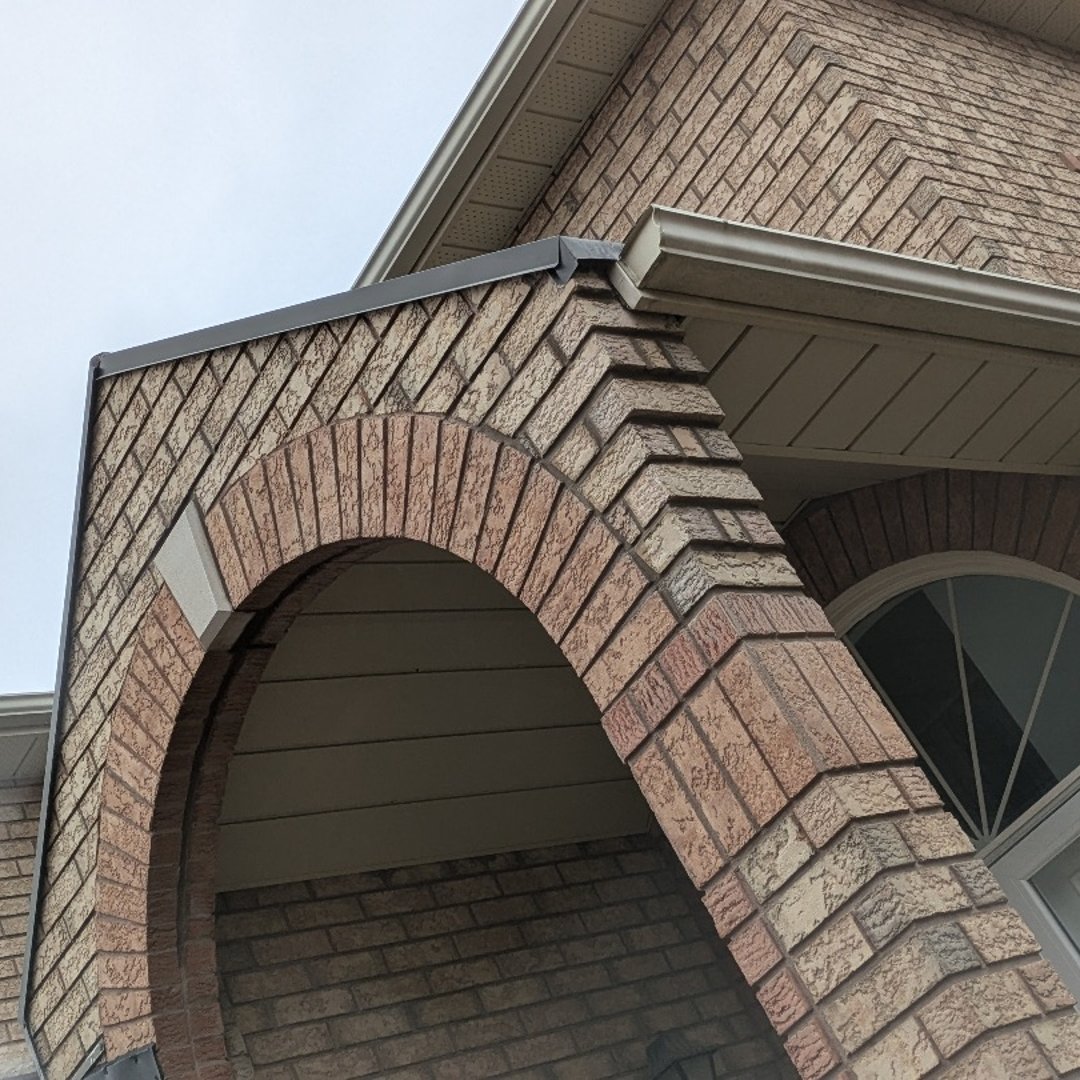
Symmetrically toothed and rebuilt brick around front door with matching mortar.


Removed and replaced damaged bricks on fireplace shoulder with waterproofing.


Rebuilt chimney above roofline and replaced spalling bricks with new sill caps.


Replaced 80-100 spalling bricks with new sill caps and vent fill-in.
Brick damage doesn't fix itself. Spot these warning signs early to avoid expensive repairs later.
Freeze-thaw cycles pop off brick faces and spread quickly.
Often signal movement—stabilize and repair before it worsens.
Safety and leak risk; we can respond same-day for hazards.
Leaking sills, lintels, or parapets that need rebuild and flashing.
Lime mortar repairs that keep soft historic brick breathable.
Seeing any of these? Get a free assessment.
Brick repair is the process of removing failed bricks and mortar, fixing the cause of the damage, and rebuilding so the wall is safe, dry, and visually consistent.
In Ontario, freeze–thaw cycles, poor drainage, and past cement-heavy repairs are the main culprits. Proper brick repair starts with diagnosis, uses compatible materials, and blends new work into old so the wall looks untouched.

Spalling and flaking faces
Cracks wider than a credit card
Loose, shifting, or missing bricks
Water damage and freeze-thaw cycles had caused extensive spalling. We replaced damaged bricks with matching units and repointed the surrounding joints.

BEFORE

AFTER
Different brick problems call for different repairs. We look at the damage and recommend the lightest fix that actually solves it—nothing more, nothing less.
We replace a handful of cracked or spalling bricks and repoint nearby joints so damage doesn't spread.
When a wall is bulging, bowing, or badly cracked, we open up the area, rebuild it properly, and tie into sound brick.
For century homes, we use matching salvaged brick and lime mortars so repairs look original and stay breathable.
Small cracks and joint repairs done early to keep water out and help you avoid expensive rebuilds later.
Not sure which service you need?
Custom-matched brick and mortar so repairs blend in.
We fix flashing, sills, and drainage to prevent repeat leaks.
Lime-rich mortars that protect century brick from spalling.
Daily cleanup plus before/after photos and written warranty.
Our Process
Transparent process, quality results. Here's what to expect.

We inspect the damage, identify what caused it, and plan the fix. No shortcuts—just a clear path to doing it right.

Clean prep, proper materials, careful execution. We're detail-oriented because the small stuff determines how long the work lasts.

Repairs that blend in, a site you'd never know we touched, and a warranty you can count on.
Clear documentation of what's included in every project
We let you know when we're coming, what we're doing, and when we're done
We review the finished work together before sign-off
Ready to get started? Book a free on-site estimate.
Schedule EstimateBrick and mortar matching so seamless, you can't tell where we worked.
Same trained team on every job. No middlemen, no surprises.
Drop cloths, dust control, daily cleanup. Your yard stays as clean as we found it.
Something not right? We come back and fix it. In writing.
4.9★ average. See what your neighbours say.
Transparent quotes with the factors that matter
Upper-storey work needs scaffolding or lifts.
Reclaimed or heritage brick sourcing adds cost.
Movement or bulging may need rebuild, not patching.
Flashing, weeps, and drainage prevent repeat issues.
Winter heating/tenting can add 20–30%.
Brick repair pricing varies by damage extent and accessibility. Contact us for a detailed quote after inspection.
Your Quote Includes
Free on-site quote · No obligation
800+ reviews
Repairs were invisible and the crew left the garden cleaner than before. Communication and pricing were clear throughout.
Laura R.
Team fixed mortar cracks, matched colour perfectly, and stood behind their warranty without hassle.
Chris B.
Everything you need to know before getting started.
Explore related services, locations, and helpful guides from our masonry experts.
3 services
4 locations
3 articles
Your guide to brick repair and tuckpointing in Westdale, Hamilton. Learn why 1920s homes are hitting their 100-year maintenance cycle—and what to do about it.
Learn to identify running bond, Flemish bond, and other brick patterns. Understand how your pattern affects repairs and costs.
Identify efflorescence, spalling, lintel failure and other commercial brick issues. Learn severity levels and when to call for repairs.
From the GTA to Southwestern Ontario, we repair brick on homes, heritage buildings, and small commercial properties in dozens of communities.
14 cities
8 cities
6 cities
10 cities
11 cities
12 cities
17 cities
Don't see your city listed? Contact us to check if we cover your area.
Ready to Get Started?
Book your estimate online in minutes. Pick a time, upload project photos, and you're confirmed instantly. No phone tag required.