This image shows a construction worker wearing a red hard hat and red overalls, standing in a partially constructed building. The worker is pushing a wheelbarrow filled with construction materials, likely cement or mortar, across the concrete floor of the unfinished interior. The walls are made of exposed bricks, and there is natural light coming in through openings in the structure. The scene depicts an active construction site where the worker is engaged in the process of building or renovating the structure.

Brick Restoration Explained: How It Can Benefit Your Home and Maintain Its Value

What Is Brick Restoration And What Are Its Benefits

Brick restoration is the process of repairing and restoring brickwork that has been damaged or degraded over time. It’s restoration can involve anything from cleaning and repointing brickwork to completely rebuilding a brick wall or structure. Brick restoration is important not only for the aesthetic appeal of brickwork but also for the strength and stability of the overall structure.

There are many benefits to Brick Restoration which include:

– Improving the overall appearance of your home or business

– Preventing further damage to your property

– Maintaining the value of your property

– Ensuring the safety of your property

If you are considering Brick Restoration for your home or business, it is important to consult with a professional Brick Restoration company. A professional company will be able to assess the damage and advise you on the best course of action. They will also have the necessary experience and equipment to carry out the work safely and effectively.

How To Identify If Your Bricks Need Restoration

If you own a home or building with brick walls, at some point you may need to think about restoration. Brick is a durable material, but it can still be damaged by weathering, insects, and other factors. Here are some signs that your bricks may need to be restored:

Cracks: Small cracks are normal in brick walls and usually don’t require repair. However, large cracks may indicate structural problems that should be addressed by a professional.

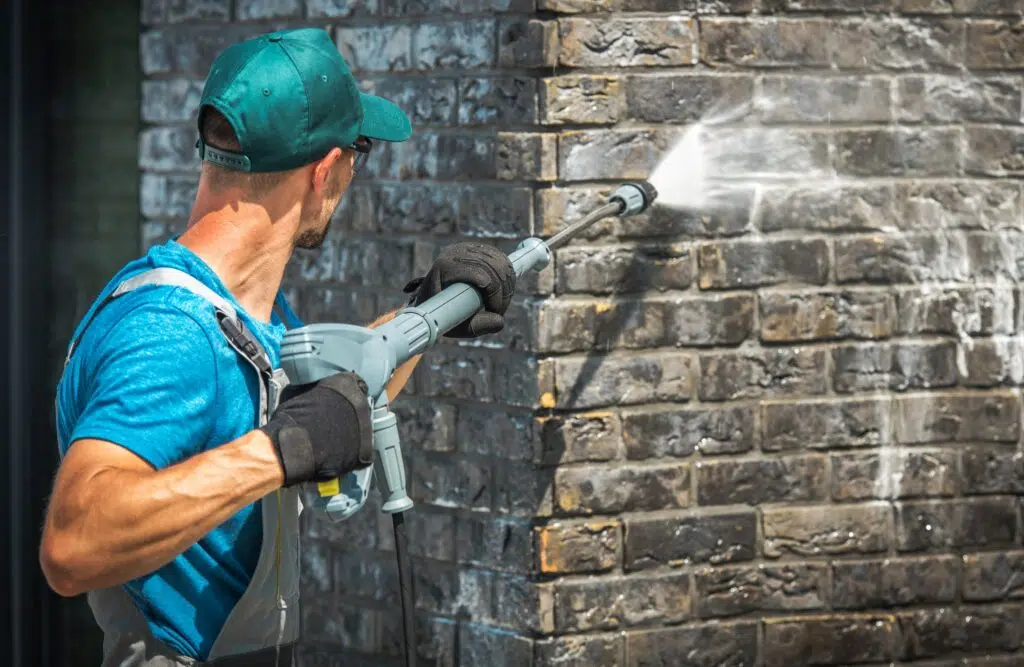
Spalling: This is when the surface of the brick starts to flake off. It’s usually caused by moisture getting into the brick, which can happen if there are cracks or gaps in the mortar joints. Spalling can also be caused by freeze/thaw cycles in cold climates.

Efflorescence: This is when a powdery white substance appears on the surface of the brick. It’s caused by water seeping into the brick and dissolving minerals, which are then deposited on the surface as the water evaporates.

Discolouration: Brick can become discoloured over time due to weathering, staining, or simply age. If you want to restore the original colour of your bricks, you may need to have them professionally cleaned.

If you notice any of these signs, it’s a good idea to consult with a professional brick restoration company. They will be able to assess the damage and recommend the best course of action. Brick restoration can be a complex and costly process, so it’s important to make sure it’s done right.


An image shows a person using a pressure washer to clean a brick wall. The individual is wearing a blue shirt and a cap, focusing the high-pressure water stream on the dark brick surface to remove dirt and grime. The spray creates a visible area of lighter brick, indicating the cleaning process's effectiveness.

The Process Of Brick Restoration

Brick restoration is the process of repairing and/or restoring a brick structure that has been damaged or degraded over time. Brick restoration can involve anything from cleaning and repointing to complete rebuilds.

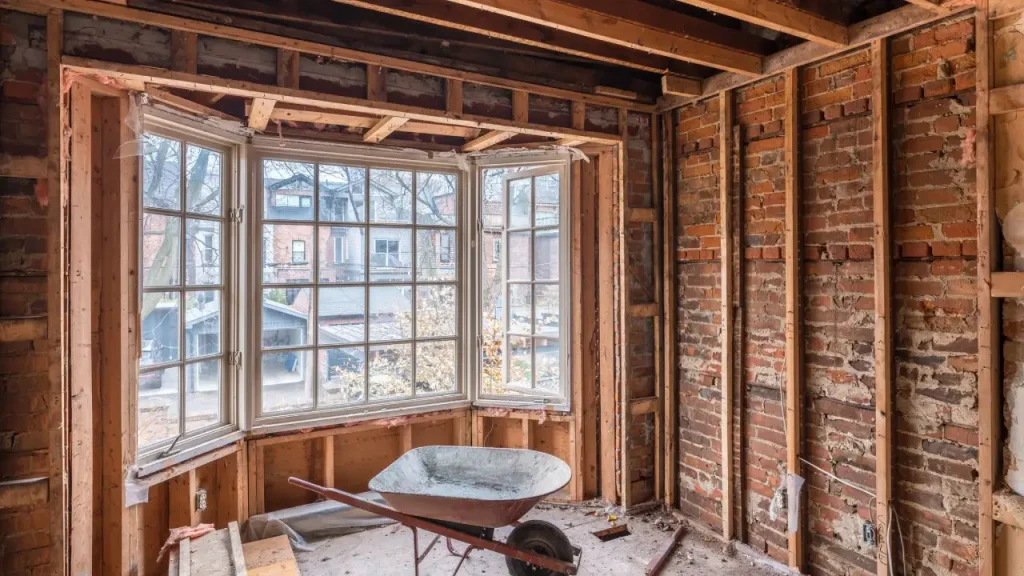
There are many reasons why someone might need to carry out brick restoration work. Brick structures are susceptible to damage from weathering, pollution, vibration, and other factors. Over time, this damage can take its toll, causing bricks to crack, crumble, or fall off completely.

In some cases, brick restoration is simply a matter of aesthetics – the owner may simply want to improve the look of their property. In other cases, it may be necessary to preserve the integrity of the structure and prevent further damage from occurring.

Brick restoration is a complex process that should only be carried out by experienced professionals. The first step is to carry out a thorough assessment of the damage, taking into account the type of bricks used, the age of the structure, and the cause of the damage. This will help to determine the extent of the work required and the best way to approach it.

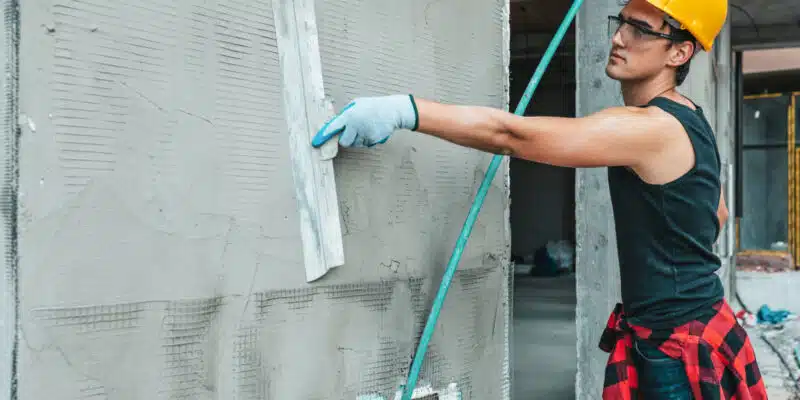
Once the assessment is complete, the brick restoration process can begin. This will typically involve cleaning the bricks and repairing any damaged ones. In some cases, it may also be necessary to rebuild sections of the structure using new bricks.

Brick restoration is a time-consuming and expensive process, but it is often essential in order to preserve historic buildings and prevent further damage from occurring. If you think your property might need some brick restoration work, it is important to get in touch with a professional contractor who can carry out a full assessment and provide you with a quote.

How Much Does Brick Restoration Cost

Brick restoration typically costs between $500 and $5,000. The price will depend on the size and scope of the project. For example, a small repair job may only cost a few hundred dollars, while a more extensive project could cost several thousand dollars.

Brick House Restoration

Brick restoration is the process of repairing and restoring brickwork. This can include anything from cleaning and sealing bricks to repairing cracks or damage. Brick restoration is often necessary when bricks are damaged by weathering, staining, or other factors.

Brick restoration is a complex process that should be performed by a qualified professional. The exact cost will vary depending on the extent of the damage and the size of the project. If you are considering having your brickwork restored, be sure to get multiple quotes from qualified contractors before making a decision.

Who Should I Hire For Brick Restoration Services

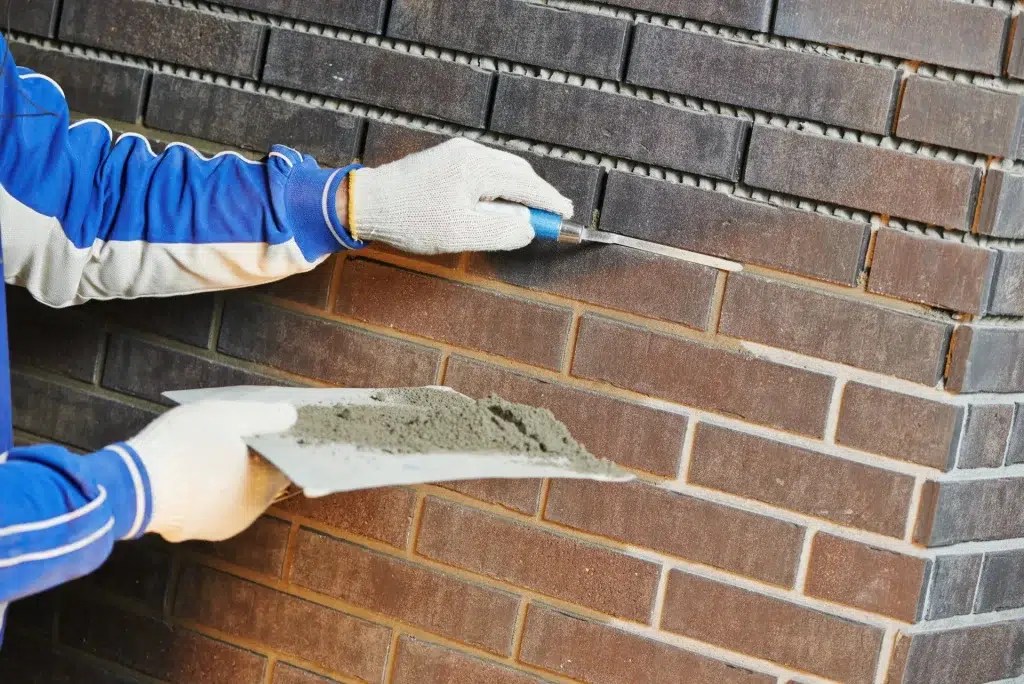
Brick restoration is the process of repairing and/or restoring a brick structure. This can include repairs to cracks, chipping, spalling, and efflorescence. Brick restoration can also involve repointing mortar joints, cleaning bricks, and resetting loose bricks.

There are many companies that offer brick restoration services. However, not all of these companies are created equal. It is important to do your research to find a company that has the experience and a good reputation. You should also make sure that the company you hire is properly licensed and insured.

If you are in need of brick restoration services, then please contact us today. We would be happy to provide you with a free quote.

Frequently Asked Questions

  1. What is brick restoration, and why is it important?
    • Brick restoration is the process of repairing, cleaning, and restoring brickwork that has suffered damage or degradation over time. It’s crucial because it helps maintain the structural integrity of buildings, prevents further damage, and enhances the aesthetic appeal of homes or businesses. Additionally, it can boost property value and ensure safety.
  2. What are the signs that my bricks need restoration?
    • Signs that your bricks may need restoration include large cracks, spalling (flaking or crumbling of brick surfaces), efflorescence (white powdery deposits on the brick), and discoloration. If you notice any of these signs, it’s best to consult a professional brick restoration company to assess the damage and recommend the appropriate repairs.
  3. How does the brick restoration process work?
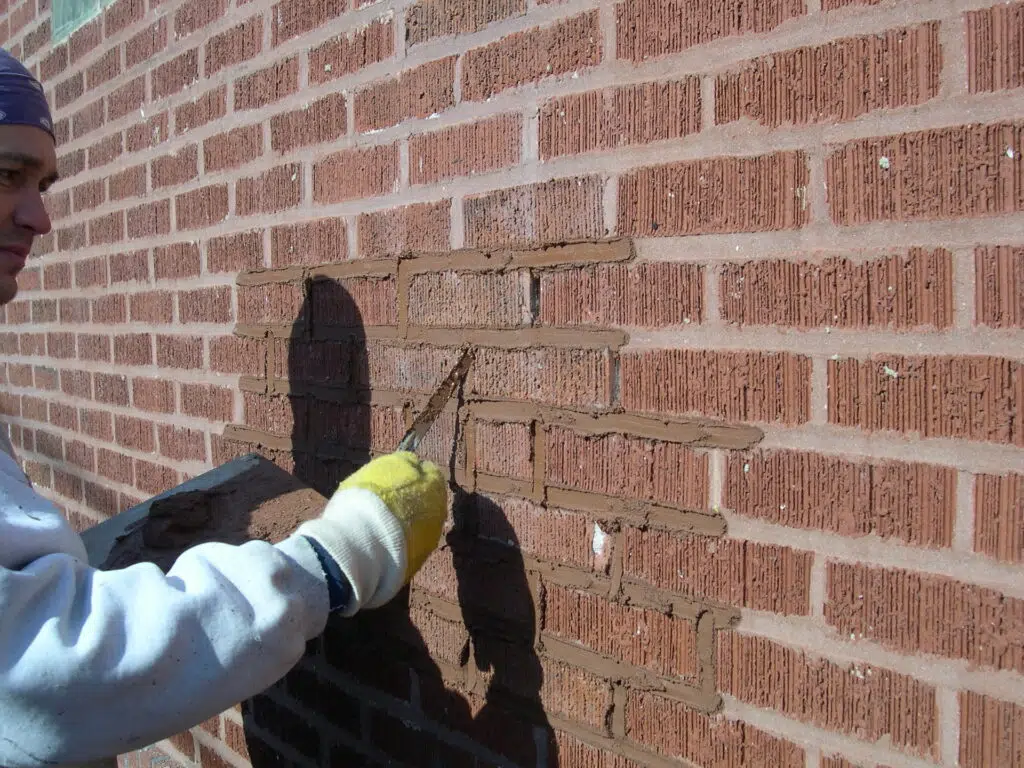
    • The brick restoration process begins with a thorough assessment of the damage. Afterward, the work may involve cleaning, repointing (replacing mortar joints), repairing or replacing damaged bricks, and, in some cases, rebuilding sections of a structure. The process requires expertise and should be performed by experienced professionals to ensure the best results and safety.
  4. How much does brick restoration cost?
    • The cost of brick restoration varies depending on the size and scope of the project. Generally, it ranges from $500 to $5,000. Smaller repairs might cost a few hundred dollars, while more extensive restoration projects could run into several thousand dollars. Factors such as the type of damage, labor costs, and materials used also play a role in determining the final cost.
  5. Can I perform brick restoration myself, or do I need a professional?
    • While small maintenance tasks like cleaning can be done by homeowners, brick restoration is a complex process that requires specialized knowledge and equipment. Attempting to repair structural issues or significant damage without professional help can lead to further problems and safety risks. It’s recommended to hire a licensed and insured brick restoration company for best results.
  6. How do I choose the right brick restoration company?
    • To choose a reliable brick restoration company, start by researching and reading reviews to gauge their reputation. Make sure the company is licensed, insured, and experienced in brick restoration. Ask for references, check their portfolio, and get multiple quotes to compare pricing and services. Choosing a reputable company ensures quality work and reduces the risk of unexpected issues.
This image shows a construction worker wearing a yellow hard hat and blue gloves, working on a wall. The worker is using a tool to apply or smooth a material, likely plaster or drywall, onto the wall. The wall appears to be an unfinished interior space, with exposed framing and wiring visible. The worker is wearing a checkered shirt, suggesting this is an active construction or renovation project.

How to Tuckpoint Mortar Joints in 7 Easy Steps

Tuckpointing refers to the repair or replacement of mortar joints in brick. Tuckpointing is the act of packing mortar into damaged joints using a tool called a -tuck pointer. The structural integrity of brick walls is dependent on mortar joints. Mortar joints are essential for brick walls’ structural integrity.

They keep water out, hold the bricks together and bear the wall’s compressive weight. The mortar is the weakest link in the brick wall and is intended to deteriorate quicker than the brick. You may be able to repair mortar and not have to replace damaged brick later.

What is Tuckpointing?

Tuckpointing refers to the repair or reinforcement of mortar joints in brickwork. Mortar joints are spaces between bricks that have been filled with cement, sand, and water. Mortar joints can crack or become crumbly over time due to weathering and structural movement.

Tuckpointing strengthens mortar joints and improves brickwork’s appearance. A clean, neat joint will be free from debris. It will be the same color and style as the rest brickwork.

Why is Tuckpointing Important?

Tuckpointing has both aesthetic and functional benefits. Tuckpointing can strengthen mortar joints and prevent water damage. Tuckpointing can also improve brickwork’s aesthetics.

When Should Tuckpointing Be Done?

When mortar joints have cracked or become crumbly, tuckpointing should be performed. To ensure strong brick mortar joints and no defects, it is a good idea for new construction to have tuckpointing.

In 7 Easy Steps, How to Tuckpoint Mortar Joints

1. Inspection of the joint: Look closely at the joint that needs to be repaired. Check for cracks, gaps, or any other damage.

2. You can remove loose material by using a chisel or hammer. You must be careful not to cause damage to the bricks.

3. Clean the joint with a stiff brush.

4. Mix the tuckpointing mortar. Tuckpointing mortar is made up of cement, water, and sand. Mix the mortar according to the manufacturer’s instructions.

5. Fill the joint with mortar: Use a trowel or putty knife to fill the joints. Make sure you pack the mortar into the joint tightly.

6. Smoothen the joint with a damp sponge

7. Let the mortar dry: The mortar should dry for at most 24 hours before it is exposed to weather or wears.

Tuckpointing can be done in just a few hours. These seven steps will help you repair mortar joints or strengthen them.

How to Identify Mortar Joints that Need Tuckpointing

Mortar joints are spaces between bricks on a wall. These joints can crack or become loose over time. This allows water to seep into the mortar and cause damage. You may notice the following signs. Your mortar joints might need to be tuckpointed.

Mortar crumbling or flaking away

– The brick’s face is noticeably receded by mortar

– There are gaps between brick and mortar.

– Mortar can be stained or discolored

A professional can help you determine if your mortar joints should be tuckpointed. A professional will assess the mortar joints and recommend the best course.

Tuckpointing

How to Tuckpoint Mortar Joints

Tuckpointing refers to the repair of mortar joints. Tuckpointing involves removing old mortar from joints and replacing it with new mortar. Although it is quite simple, tuckpointing can be time-consuming. These seven steps will help you tuckpoint mortar joints.

1. To remove old mortar from joints, use a chisel or hammer. To protect your eyes against flying debris, make sure you wear safety glasses.

2. Make sure to vacuum up all dust and debris.

3. Follow the manufacturer’s instructions to mix the mortar.

4. Place the mortar in a small bag and trim the corner.

5. The disposable bag can be used to pipe mortar into joints.

6. To smoothen the mortar, use a pointing tool.

7. Let the mortar dry for 24 hours before applying any stress.

It is an easy way to prolong the life of bricks and maintain your home’s beauty. You can make sure your bricks last for many years by investing a little bit of time and effort.

How to Prepare the Surface for Tuckpointing

1. Use a wire brush to remove all mortar and lose joints.

2. Clean out all debris from joints.

3. To prevent mortar from drying too quickly, wet the surface.

4. If necessary, bond the surface with a bonding agent.

5. Mix the tuckpointing Mortar

6. Tuckpointing Mortar

7. Finalization

How to Mix and Apply Mortar for Tuckpointing

1. Mortar is the glue between bricks, concrete blocks, and stones. It’s made from Portland cement, lime, and sand in different proportions.

2. To tuckpoint, the first step is to identify what type of mortar was used. This can be done simply by looking at the mortar’s color and hardness.

3. After you have identified the mortar type, you can mix up a batch that matches it.

4. Mix the mortar by first adding the dry ingredients (cement lime, sand, and salt) to a wheelbarrow.

5. Slowly add water and stir it into the mixture until it becomes peanut butter-like inconsistency.

6. Next, apply mortar to joints. You can use a trowel, or another tool to do this.

7. After the mortar has been set, smoothen it with a brush and take out any excess.

8. Before you can continue, allow the mortar to cure at least 24 hours.

9. Optional sealer can be applied to the joints. This will protect the joints from weathering and other damage.

Chimney Repair-Tuckpointing

How to Finish the Tuckpointing Job

1. Use a wire brush to remove any Mortar that remains in the joints.

2. Mix a new batch of Mortar and spray it with water to wet the Mortar joints.

3. Use a putty knife to pack Mortar in the joints and then smooth it out. Don’t overfill the joints.

4. Before painting or staining the Mortar, let it dry for at most 24 hours.

5. To remove excess Mortar from bricks, use a wire brush.

6. If you wish, apply caulking to Mortar joints and let it dry completely before painting or staining.

7. Enjoy your new truck

Tips to Prevent Mortar Joint Failure in the Future

Mortar joints are an important part of any masonry structure. However, they are often neglected in terms of repair and maintenance. There are many reasons mortar joints may fail, but the most common reason is poor installation or poor mortar mix. Here are some tips to help prevent mortar joint failures in the future.

1. High-quality mortar mixes are essential to prevent mortar joint failure. A lower-quality mortar mix or one that is less durable will result in a weaker joint and more likely to crack and fall apart.

2. Make sure you install control joints correctly – Control joints are placed in masonry structures to control cracking and allow for cracks to form. If they aren’t installed correctly, they can cause more damage than good. Control joints must be installed correctly and at the right depth.

3. Avoid overworking the mortar. Once the mortar has been placed, it is important not to overwork it. Overworking mortar can make it less resilient and more likely to fail. To avoid damage to mortar joints, keep the float at a low angle when troweling Mortar.

4. Proper curing techniques are important – Once the Mortar is installed, it’s essential to properly cure it in order to preserve its strength and durability. For the first few days following the installation, you can mist the Mortar several times per day with water. This will allow the Mortar to cure evenly and slowly, and prevent cracking or other damage.

5. Regularly inspect Mortar joints – Mortar joints must be inspected for signs of damage and deterioration on a regular basis. To prevent further damage, any problems should be addressed immediately.

These tips will help you prevent mortar joint failures in the future. They will also keep your masonry structure looking great for many years.

Frequently Asked Questions

  1. What is Tuckpointing, and Why Does Your Home Need It?
    • Tuckpointing is the art of filling in or repairing the mortar joints between bricks, vital for your home’s structural integrity. This preventive maintenance task is critical as it seals out water, binds bricks firmly, and bears the wall’s weight, prolonging your home’s lifespan and curbing the need for extensive brick replacement later on.
  2. How Can You Tell if Your Mortar Joints Require Tuckpointing?
    • If you observe mortar crumbling away, bricks recessing behind the mortar line, visible gaps, or discoloration in the mortar, it’s time for tuckpointing. Addressing these early signs can avert more severe damage and expensive repairs down the line.
  3. When is the Best Time to Undertake Tuckpointing?
    • Tuckpointing should be on your to-do list when you spot cracks or when the mortar begins to crumble. Not only does timely tuckpointing reinforce structural stability, but it also ensures your brickwork remains unblemished and robust from the start in new constructions.
  4. Is Tuckpointing a DIY Project, or Should You Call the Pros?
    • While tuckpointing may seem straightforward, it’s a nuanced task best left to professionals. Expert masons have the tools and techniques to perform the job correctly, ensuring a finish that matches your home’s original brickwork and mortar, both in strength and style.
  5. What Steps are Involved in Tuckpointing Your Mortar Joints?
    • Professional tuckpointing includes joint inspection, removing loose mortar carefully, thorough cleaning, creating the right mortar mix, filling and packing joints with precision, smoothing, and allowing the mortar to set and cure properly. This meticulous process ensures lasting results and a seamless look.
  6. How Do You Maintain Mortar Joints After Tuckpointing?
    • Prevent future mortar joint issues with quality mixes, correct control joint installation, avoiding overworking mortar, using proper curing techniques, and regular inspections for early detection of problems. These practices ensure your masonry remains in peak condition for years to come.