Restoring historic brick homes is a delicate process that requires careful attention to detail, especially when it comes to matching mortar. The right mortar not only enhances the aesthetic appeal of a historic structure but also plays a crucial role in preserving its structural integrity. In this comprehensive guide, we’ll explore the intricacies of matching mortar in historic brick homes, from understanding traditional compositions to applying compatible materials using proper techniques.
Understanding Historic Mortar Compositions
Before diving into the matching process, it’s essential to understand the composition of historic mortars. Unlike modern Portland cement-based mortars, historic mortars were typically made with lime as the primary binder. These lime-based mortars had several advantages:
- Flexibility: Lime mortars could accommodate minor building movements without cracking.
- Breathability: They allowed moisture to evaporate, preventing trapped moisture issues.
- Self-healing properties: Small cracks in lime mortars could heal themselves over time.
- Compatibility with soft bricks: Lime mortars were softer than the bricks, preventing damage to the masonry.
Historic mortars often contained a mixture of lime, sand, and sometimes additional materials like clay or animal hair for added strength. The exact composition varied depending on the region, available materials, and the specific requirements of the building.
Analyzing Existing Mortar for Proper Matching
To accurately match historic mortar, a thorough analysis of the existing mortar is crucial. This process typically involves the following steps:
- Visual Inspection: Examine the color, texture, and aggregate composition of the existing mortar.
- Hardness Testing: Assess the mortar’s hardness using simple field tests or more advanced laboratory methods.
- Chemical Analysis: Determine the precise composition of the mortar, including the binder-to-aggregate ratio and any additives.
- Microscopic Examination: Study the mortar’s microstructure to identify specific characteristics and components.
Professional laboratories specializing in historic material analysis can provide detailed reports on mortar composition, which are invaluable for creating an accurate match.
Mixing and Applying Compatible Mortar
Once the existing mortar has been analyzed, the next step is to mix and apply a compatible replacement mortar. Here’s a general process to follow:
1. Selecting Materials
Choose materials that closely match the original mortar composition:
- Lime: Use either hydrated lime or lime putty, depending on the analysis results.
- Sand: Select sand with a similar color, texture, and grain size distribution to the original mortar.
- Additives: If the original mortar contained additional materials, source appropriate equivalents.
2. Mixing the Mortar
Follow these steps to mix the mortar properly:
- Measure the ingredients according to the specified ratios.
- Mix dry ingredients thoroughly before adding water.
- Add water gradually, mixing until the desired consistency is achieved.
- Allow the mixture to rest for 15-20 minutes before final adjustments.
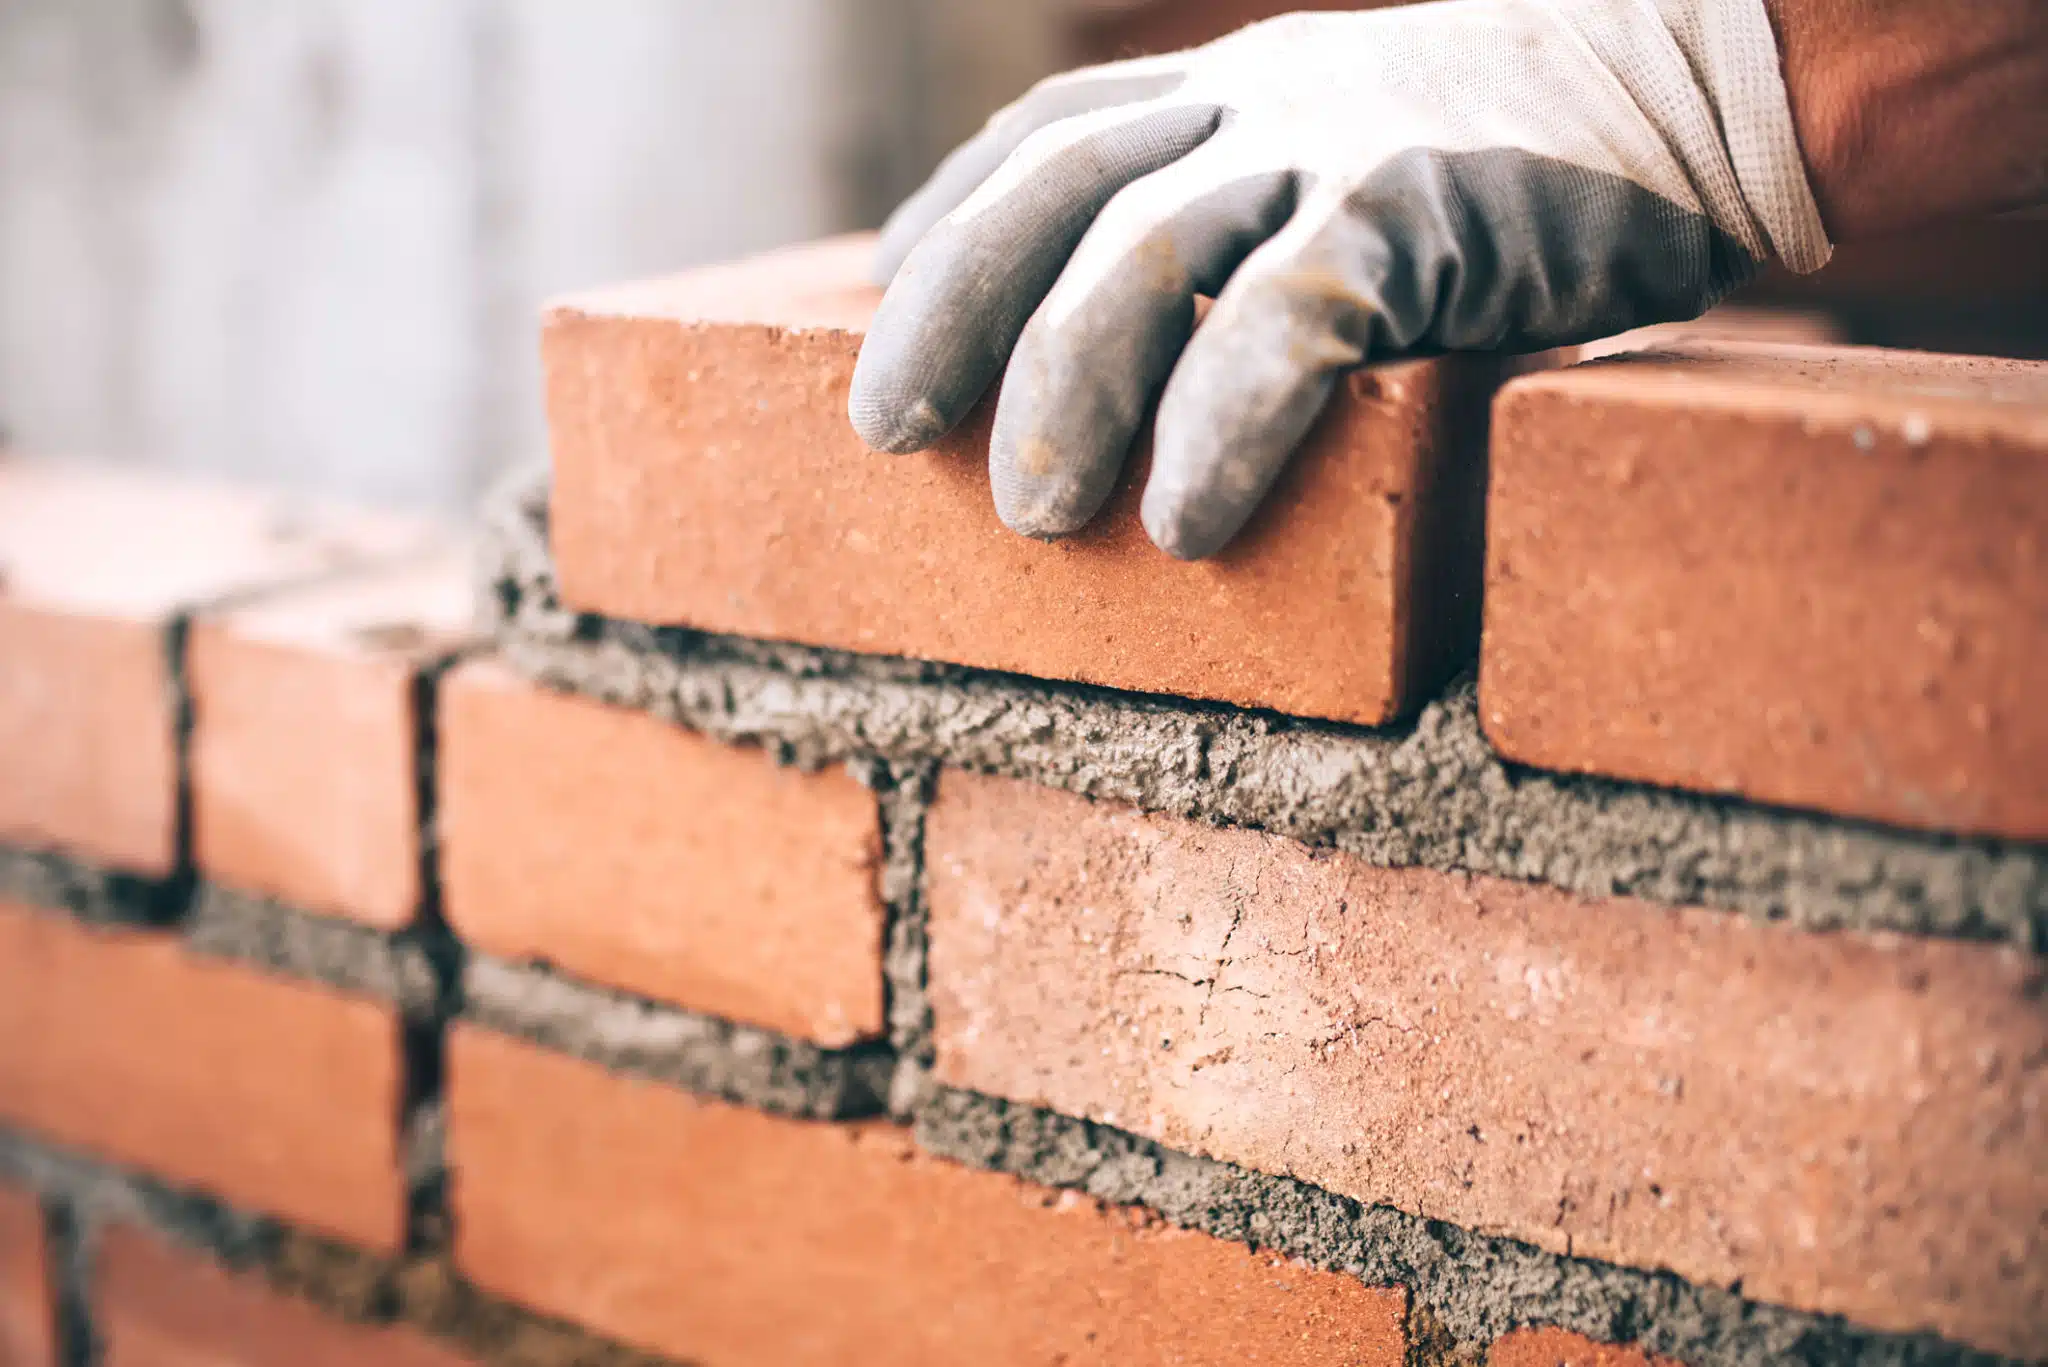
3. Applying the Mortar
Proper application techniques are crucial for a successful restoration:
- Remove old, deteriorated mortar to a depth of 2-3 times the joint width.
- Clean the joints thoroughly, removing all dust and debris.
- Pre-wet the masonry to prevent rapid moisture loss from the new mortar.
- Apply the mortar in layers, allowing each layer to reach a “thumbprint-hard” consistency before applying the next.
- Tool the joints to match the original profile and texture.
- Protect the newly applied mortar from rapid drying, extreme temperatures, and direct sunlight.
Common Mistakes in Mortar Matching and How to Avoid Them
Even experienced professionals can make mistakes when matching historic mortars. Here are some common pitfalls and how to avoid them:
1. Using Modern Portland Cement
Portland cement is often too hard and impermeable for historic brickwork. Stick to lime-based mortars that match the original composition.
2. Incorrect Color Matching
Avoid relying solely on pigments to match color. Instead, focus on using appropriate sand and lime to achieve the right hue naturally.
3. Improper Joint Preparation
Failing to remove enough old mortar or inadequately cleaning the joints can lead to poor adhesion. Take the time to prepare the joints properly.
4. Inconsistent Mixing
Variations in mixing can lead to inconsistencies in color and texture. Use precise measurements and mix thoroughly for consistent results.
5. Rushed Application
Applying mortar too quickly or in unfavorable weather conditions can compromise its strength and appearance. Be patient and work in appropriate conditions.
The Role of Proper Mortar in Preserving Historic Brickwork
Using appropriate mortar in historic brick restoration is not just about aesthetics; it’s crucial for the long-term preservation of the structure. Here’s why:
- Structural Integrity: Compatible mortar helps maintain the building’s structural stability by allowing for natural movement and preventing stress on the bricks.
- Moisture Management: Proper mortar allows the masonry system to breathe, preventing moisture-related issues like spalling and freeze-thaw damage.
- Historic Authenticity: Using historically accurate mortar preserves the building’s original character and construction techniques.
- Longevity: Well-matched mortar can significantly extend the lifespan of historic brickwork, reducing the need for future repairs.
Conclusion
Matching mortar in historic brick homes is a complex but essential aspect of preservation. By understanding historic mortar compositions, carefully analyzing existing materials, and using appropriate mixing and application techniques, you can ensure that your restoration work not only looks authentic but also contributes to the long-term preservation of these invaluable structures.
Remember, when in doubt, it’s always best to consult with preservation specialists or experienced masons who have a track record in historic restoration. With the right approach and attention to detail, you can help these historic brick homes continue to tell their stories for generations to come.
\n\n\n
error: No faq


