1
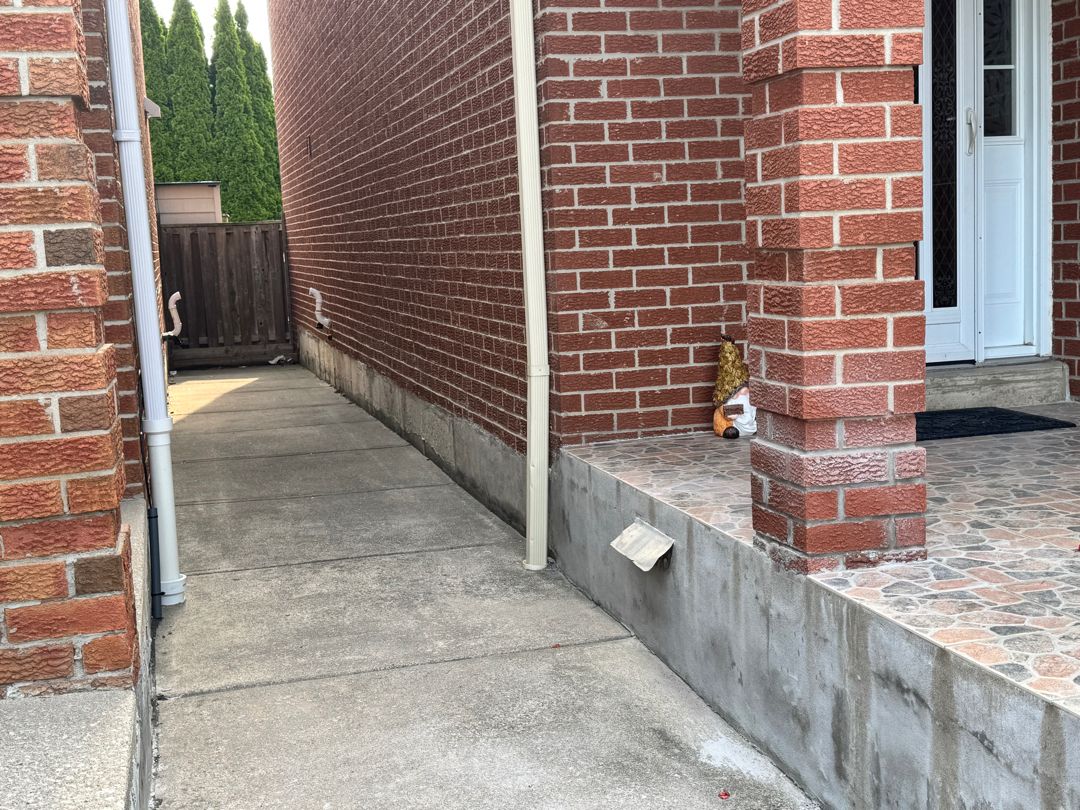
Before
We Assess the Problem
We inspect the damage, identify what caused it, and plan the fix. No shortcuts—just a clear path to doing it right.
Brick damage doesn't fix itself. Spot these warning signs early to avoid expensive repairs later.
Past contractors used whatever mortar was handy. Multiple colours stand out and look worse over time—buyers notice and it signals questionable workmanship underneath.
Designated buildings require documented mortar matching under Ontario Heritage Act. Authorities reject visible mismatches—wrong mortar can damage soft historic brick permanently.
Off-the-shelf mortar is always too grey, too white, or wrong texture. Hardware store products cannot match sand colour or aggregate—your repair looks like a repair.
Seeing any of these? Get a free assessment.
Mortar colour matching is the process of analysing existing mortar and creating custom mixes that blend invisibly—matching colour, texture, and composition.
Mortar colour comes from sand aggregate, binder type, and sometimes pigments. Matching requires understanding all three. We analyse your existing mortar, identify the components, and create custom mixes that disappear into the original work.
Repointing work
Any tuckpointing or repointing should include colour matching.
Previous mismatch
Correcting past work that used wrong mortar colour.
Heritage projects
Designated buildings requiring documented matching.
Different brick problems call for different repairs. We look at the damage and recommend the lightest fix that actually solves it—nothing more, nothing less.
On-site colour analysis and custom mixing for standard residential work. Experienced eye matching with test patches for approval.
ASTM C1324 testing for precise composition analysis. Identifies binder, aggregate, and additives for exact replication.
Complete documentation for designated buildings. Lab analysis, methodology records, and compliance reporting.
Remove and redo previous work that used wrong mortar. Match correctly this time.
Not sure which service you need?
Repairs that disappear
Properly matched mortar blends seamlessly. Repairs are invisible, not obvious patches.
Meet heritage authority requirements with documented matching and proper materials.
Buildings with seamless repairs look well-maintained. Mismatched mortar signals problems.
Matching includes composition, not just colour. Compatible mortar protects your brick.
Matched mortar ages the same as original. Mismatches get more obvious over time.
Our Process
Transparent process, quality results. Here's what to expect.
We inspect the damage, identify what caused it, and plan the fix. No shortcuts—just a clear path to doing it right.
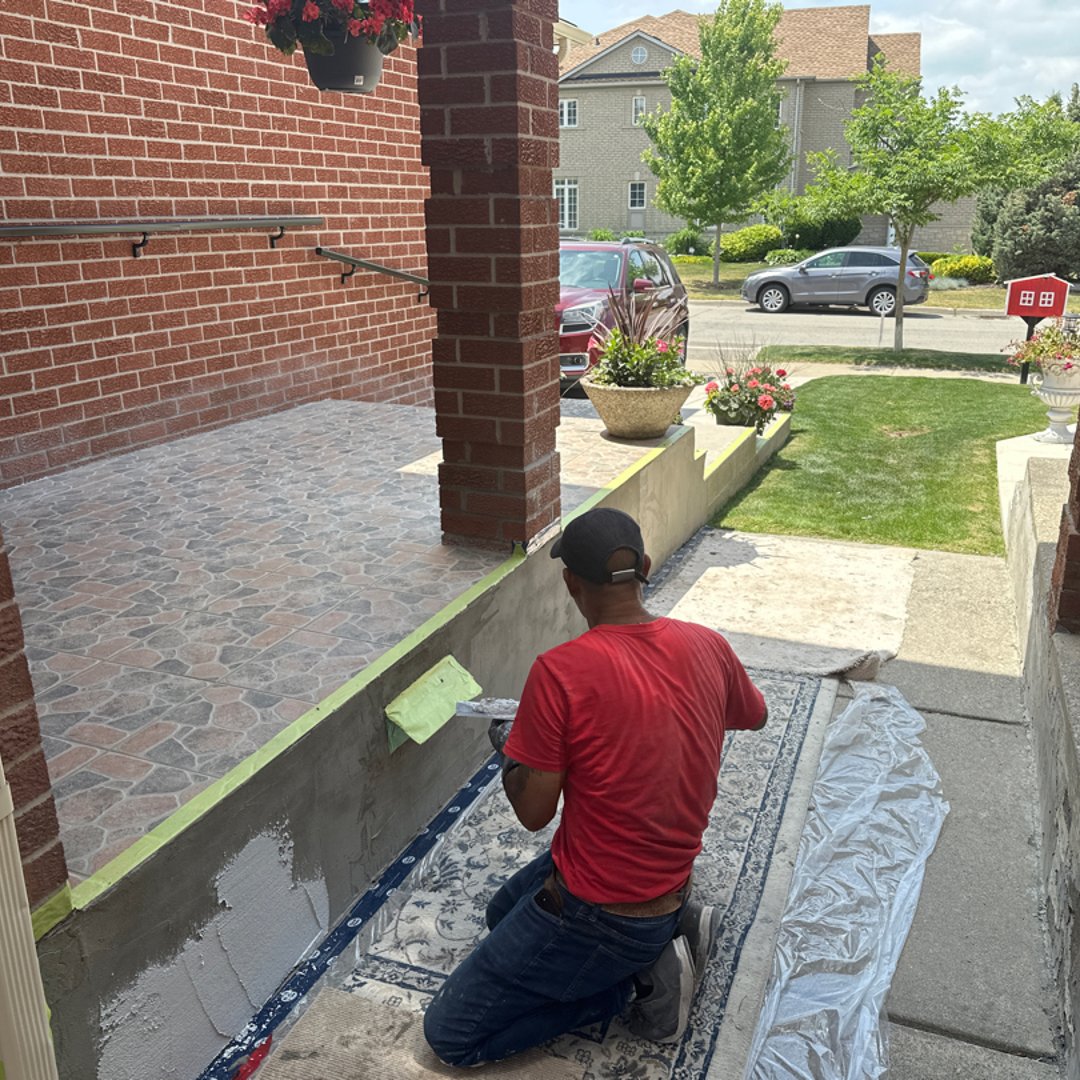
Clean prep, proper materials, careful execution. We're detail-oriented because the small stuff determines how long the work lasts.
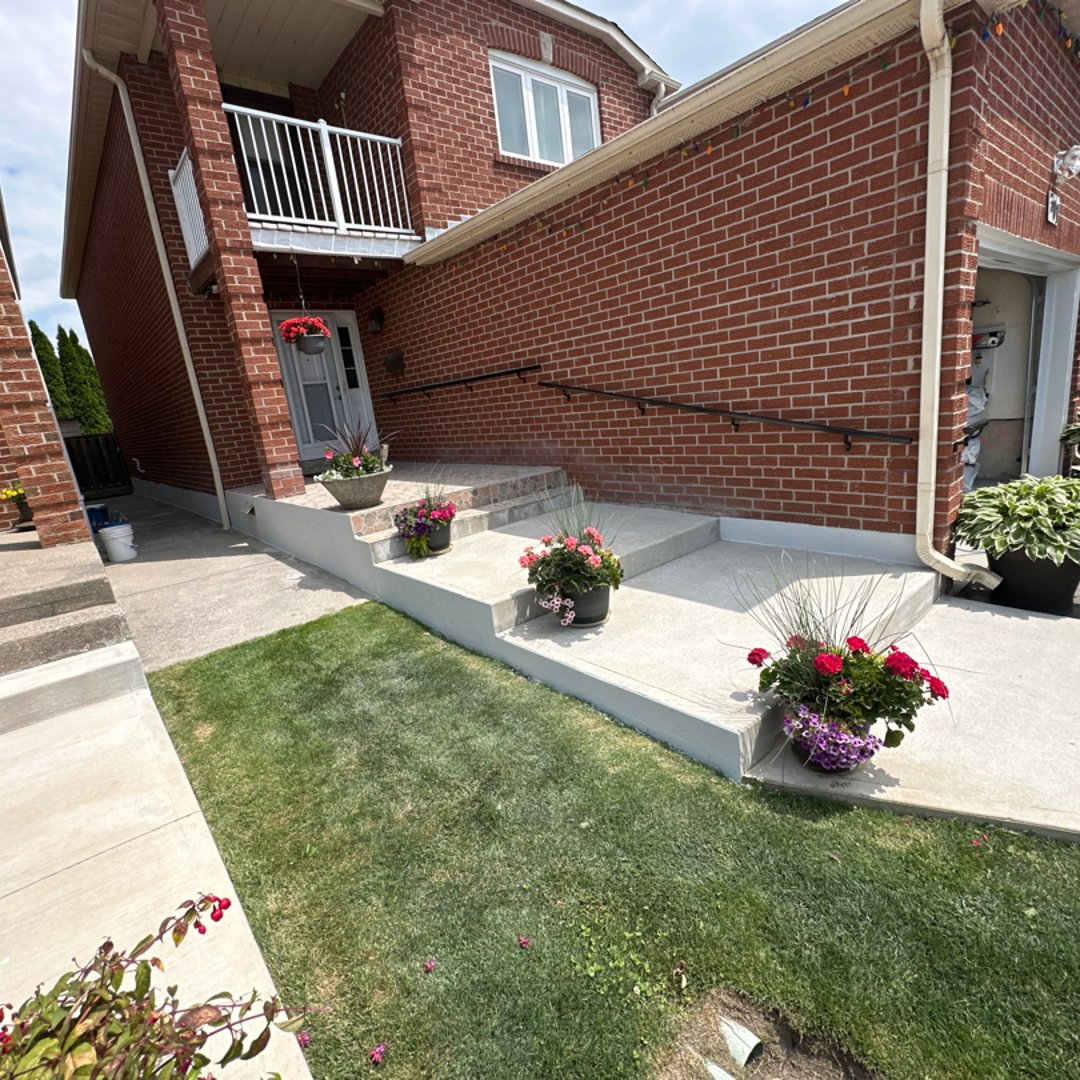
Repairs that blend in, a site you'd never know we touched, and a warranty you can count on.
Clear documentation of what's included in every project
We let you know when we're coming, what we're doing, and when we're done
We review the finished work together before sign-off
Ready to get started? Book a free on-site estimate.
Schedule EstimateBrick and mortar matching so seamless, you can't tell where we worked.
Same trained team on every job. No middlemen, no surprises.
Drop cloths, dust control, daily cleanup. Your yard stays as clean as we found it.
Something not right? We come back and fix it. In writing.
4.9★ average. See what your neighbours say.
Matching adds value—here are the main factors
Visual matching is economical. Laboratory analysis costs more but provides documentation.
Buildings may have different mortars in different areas. Each needs separate matching.
Standard matching is straightforward. Heritage compliance packages require more work.
Matching cost spreads across larger projects. Small repairs have higher per-unit matching cost.
Common mortar colours are easier. Unusual aggregates or historic formulations take more effort.
Matching is included in our repointing work. Standalone matching services are quoted separately.
Your Quote Includes
Free on-site quote · No obligation
800+ reviews
Previous contractor left obvious patches everywhere. Fix My Brick removed and redid the work with properly matched mortar. Finally looks right.
Dorothy K.
Heritage committee required lab analysis. Fix My Brick provided exactly what we needed—documented matching that satisfied the requirements.
Robert J.
They did test patches and let us approve before proceeding. The final work is invisible—you cannot tell where the repairs are.
Susan P.
Everything you need to know before getting started.
Explore related services, locations, and helpful guides from our masonry experts.
4 services
5 locations
2 articles
Learn the main mortar types for brick and how to choose safely for Ontario homes—especially older brick. Includes a quick selector and FAQs.
Master mortar repointing with this 6-step guide. Learn to match historic mortar, remove old joints, and apply new mortar correctly.
We match mortar for buildings throughout Southern Ontario. From visual matching to laboratory analysis, we make repairs invisible.
14 cities
8 cities
6 cities
10 cities
11 cities
12 cities
17 cities
Don't see your city? Contact us—we likely service your area. Contact us to check if we cover your area.
Ready to Get Started?
Book your estimate online in minutes. Pick a time, upload project photos, and you're confirmed instantly. No phone tag required.