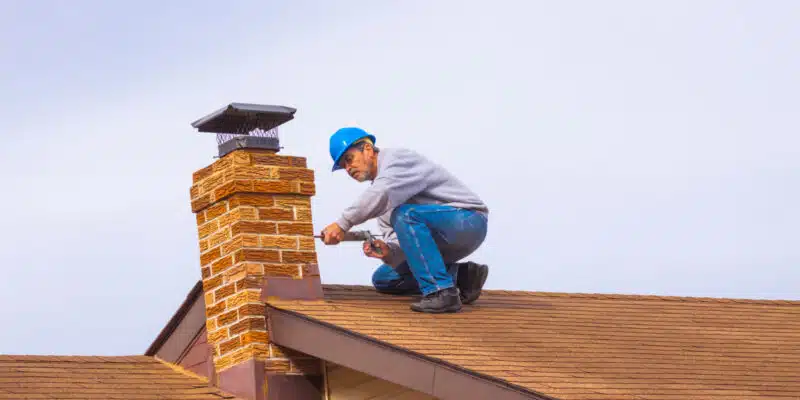
Like every other material, brick and concrete start to require repair over time. Depending on the environment and usage of your masonry, these repairs might become more prominent, leading to significant damage. Homeowners with masonry on their property need to know the basics of brick and concrete repairs. While you don’t need to make the repairs yourself (though you can in some cases), it’s crucial to understand when bricks need repair, what the process entails, and how much it will cost.
Can Broken Bricks Be Repaired? How?
The good news is that you can repair broken bricks. You don’t have to write off the whole structure because of a few damaged bricks. In fact, we’ll even tell you how to complete a basic brick repair. But before you get out your chisel and mortar, there’s more you should know. You need to figure out some things first, like how bad the damage is, what’s causing the damage, and if you can repair it yourself.
How Bad is the Brick?
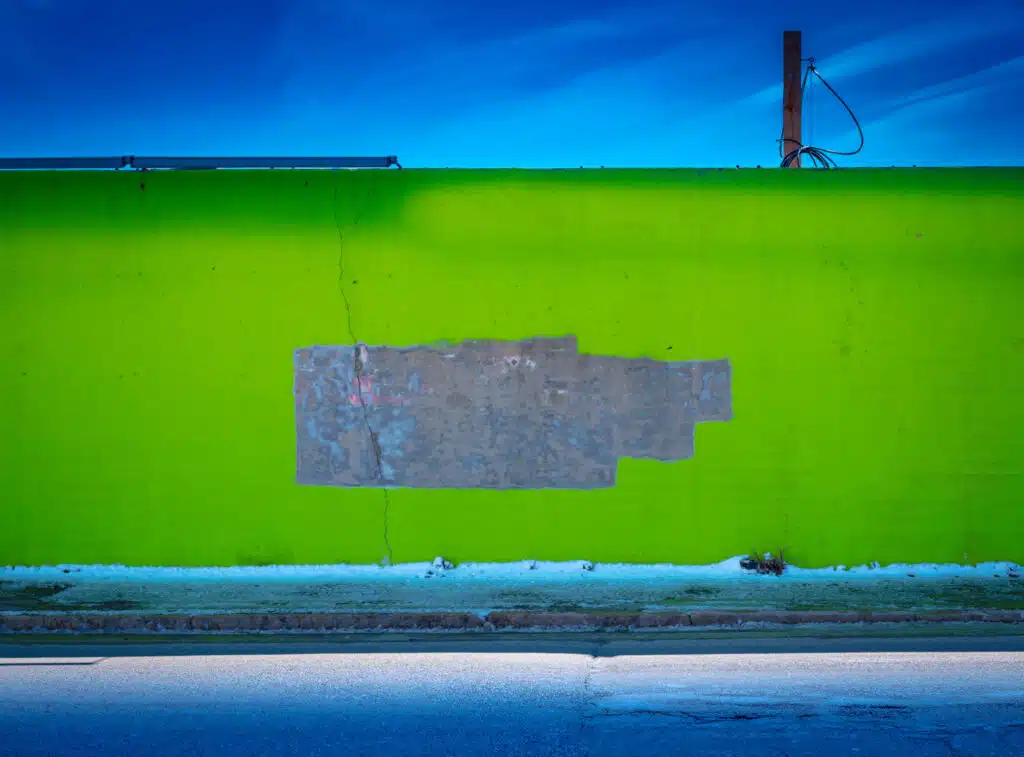
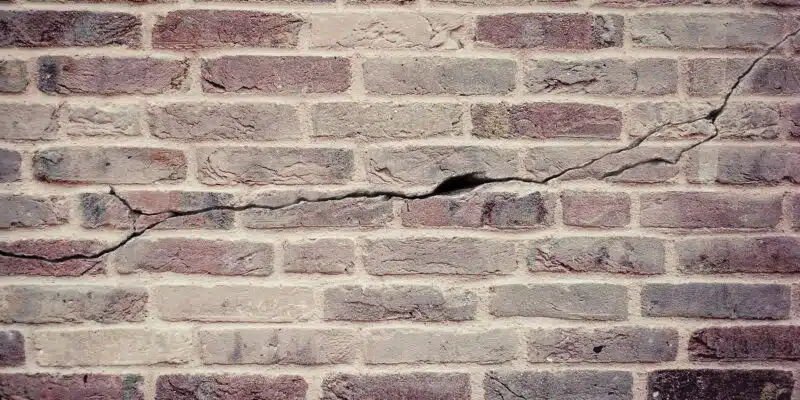
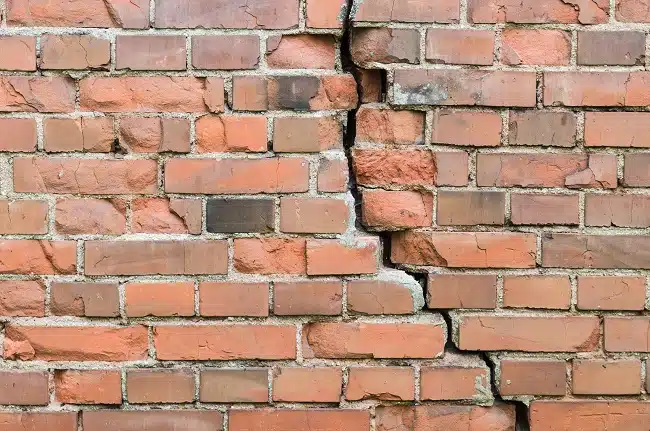
First, find out if you’re looking at a simple solution or if your brick needs more work. Isolated cracks or chips that are only on a few bricks can be fixed pretty easily. You can probably repair the structure with a few replacement bricks. However, some structures might require a lot more work. If your structure is load-bearing or has more than a few bricks that need to be replaced, you should consider hiring a professional. It’s better to get help from an expert than risk hurting yourself or damaging the structure. Here are some common causes of brick damage that go beyond standard wear-and-tear.
- Underlying expansion or contraction
Different bricks and types of mortar can have different expansion or contraction rates. If you have multiple types of materials with conflicting expansion rates, that can lead to cracking or structural instability.
- Salt damage
People that live in cold areas probably use salt in the winter to keep their sidewalks and driveways safe. However, that same salt can damage brickwork. Salt damage can erode bricks and concrete, usually leaving behind white marks on the masonry.
- Water damage
Water damage is another common cause of brick deterioration. Regular water running over brick or concrete can slowly erode the material, eating away at masonry. Typically, water damage on masonry looks like the bricks have been half-dissolved.
- Foundation movement
A settling foundation can cause a lot of damage to homes and buildings. To see if a moving foundation is the reason for your broken bricks, check for a staircase-like crack coming from the base of the structure. If you find one, call a professional, as the stability of the structure might be compromised.
- Grade level changes
The grade level of brick is supposed to be a foot above ground level in most areas. However, some home projects, like adding a deck, stairs, or soil, can change the grade level. Bricks trapped near ground level are likely absorbing water, leading to erosion and brick damage.
How to Complete a Minor Brick Repair
If your bricks don’t fall into the above categories, you might be able to make your repairs yourself. As long as you’re only replacing a few bricks with minor damage, you can probably get the project done without hiring a professional. However, if you’re not comfortable with masonry or DIY projects like this, it’s better to reach out and ask for help than risk injuring yourself or damaging your structure.
Removing and Replacing a Brick
What You Need
- A replacement brick that matches your other bricks in makeup and appearance
- Mortar mix
- A mortar mix pigment if you need to match it to the rest of the structure
- Cold chisel
- Hammer
- Wire brush
- If you have one, a power drill can make the process easier.
- Pointing trowel
- Joint strike tool
- Eye protection
- Leather work gloves
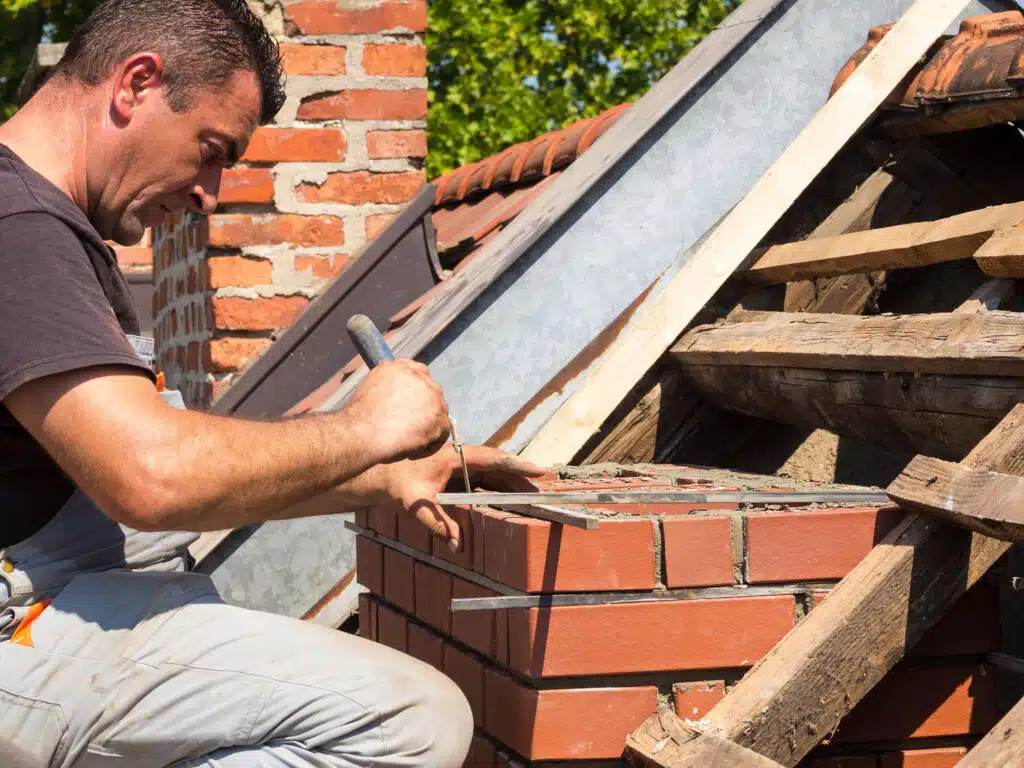
Removing the Brick
First, you have to remove the brick. Make sure you have on your eye protection and leather gloves to protect yourself from possible injuries. If you’re worried about dust, you can also wear a basic face mask to keep from breathing in debris. Start with the cold chisel and a heavy hammer. Break the brick into pieces to remove it, but be careful not to damage any of the other bricks. If you’re removing multiple bricks, start with the top one and move down. Once you’ve removed all the old brick pieces, chisel out the old mortar. Try to make it as clean as possible. When all the old mortar is gone, clean the joints of any that’s left with a wire brush. Use a vacuum to clear out the entire opening, then rinse it with water. Now, you can put in your new brick.
Replacing the Brick
Mix your mortar along with pigment if you need it. Take your pointing trowel and put mortar on the bottom and sides of the brick opening. You want to have about one inch of mortar. Slightly wet your new brick to absorb the mortar better, and then apply mortar to the brick’s top and sides. Slide it into the opening, and don’t worry. Mortar’s supposed to ooze out. Tap the brick into place until it’s flush with the rest of the bricks. If you need it, apply more mortar with the pointing trowel. The mortar should be full to the face of the brick. Then, you can tool the mortar joints with the joint strike tool to ensure they match with the adjacent mortar joints. When the mortar is almost dry, use the wire brush and clear away the excess mortar. Finally, one of the most important steps is to make sure the new brick stays moist to help it cure. Spray the whole repair with water after finishing with the mortar. For the next three days, make sure the brick remains moisturized. Some people cover the repair with a plastic sheet to help it retain moisture, though you don’t have to do this.
Fixing Loose Mortar Joints
Loose mortar joints can let moisture into your interior walls and the surrounding mortar. That’s why it’s so important to make sure all the mortar joints in your brickwork are fixed with a process called tuckpoint.
What You Need
- Mortar mix
- Mortar mix pigment if you need to match to the existing brickwork
- Cold chisel
- Heavy hammer
- Sharp, small trowel
- Scrub brush
- Eye protection
- Leather work gloves
How to Tuckpoint?
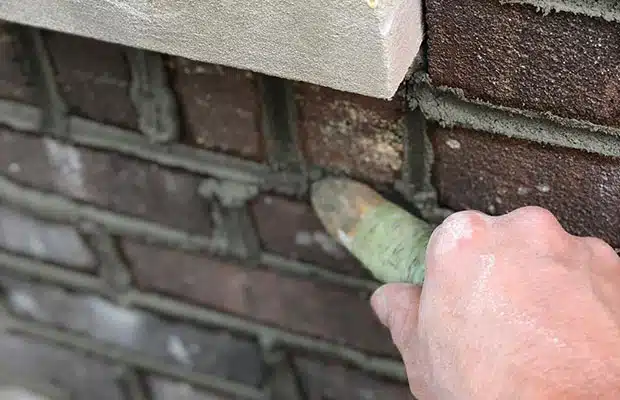
With your eye protection and leather gloves on, use the cold chisel and hammer to remove the old mortar. Cut at least a half-inch into the crumbling joint and remove all loose mortar. Then, rinse the joints with fairly strong water pressure to make sure you got all the loose mortar and dust out. Mix the new mortar, but before applying it to the mortar joint, wet the joint again. Use your trowel to fill the joints with mortar and pack it in tightly. You don’t want any air holes or gaps. Like with the brick replacement, you need to keep the mortar moist for the next few days. Mist it regularly to ensure it cures properly, and when it’s completely dry, use the wire brush to remove excess mortar.
2. How Much Does Brick Repair Cost in Canada?
There’s no shame in hiring a professional! When it comes to masonry and construction projects, it’s always better to be safe than sorry. If you aren’t comfortable completing projects yourself or your bricks are significantly damaged, do some research and find qualified experts in your area. If you’re wondering how much money you might end up spending, you’re not the only one. The cost is a top concern for anyone looking to hire a professional. However, the cost can vary significantly depending on the severity of the damage, how much needs to be repaired, the type of work being completed, and your location. According to Reno Assistance, the average rate for masonry work in Canada is about $120 an hour. Home Advisor reports that brick repair in America can range between 710 and 2,287 USD, about $885 and $2,853 in Canadian dollars. Of course, those numbers include everything from minor brick repairs to restorations. If you want to hire a professional for brickwork, you’ll have to look at your local masons. Find someone that you can trust to complete the work and ask for a quote. To get the best idea of how much something will cost, try to get quotes from a few different people.
3. Brick Repair vs. Brick Restoration – What’s The Difference?
If you’re looking into brick repair yourself, you’ve probably seen the word restoration somewhere. But what’s the difference between the two?
Brick Repair
Brick repair is a much more functional project, taking damaged sections and replacing them with new materials. These projects patch and plug gaps and cracks or remove and replace outdated materials that may have lost their structural integrity. The purpose of repairs is to take existing masonry and get them in good condition.
Brick Restoration
Restoration, on the other hand, is a more intensive project. While it might include similar work to repairs, the purpose of restoration is to bring the masonry back to its original look. For structures from older eras, restoration uses period-appropriate materials to ensure the brickwork remains standing and matches the rest of the structure. This often involves removing old masonry, replacing it, and refinishing it. While repairs often focus on a specific area or piece of masonry, restoration is usually for an entire building. Improving a building’s structural integrity requires a lot more work than a few repairs.
The Difference
If you’re trying to figure out if you need repairs or restoration, remember that repairs fix while restoration replaces. Though repairs might involve replacing bricks or concrete, and restoration often involves repairs, the overall purposes of the projects differ. Repairs are focused on small fixes, and restoration is for overall improvement.
4. What are the Types of Brickwork?
To figure out what type of repairs your masonry needs, you also need to know the type of brickwork you have. There are two different categories, one of which has three classes. The first is brickwork in mud. This is the most basic and cheapest type of masonry, where bricks are joined together with mud. Typically, people in North America don’t use brickwork in mud for anything more complex than short walls. The second category is brickwork in cement, which uses cement to join the bricks together. There are three classes of brickwork in cement, each defined by the type of bricks and the purpose of the brickwork.
- First-class brickwork uses cement of lime mortar and bricks with sharp surfaces and edges. These bricks should be regular in shape, made of completely burnt good earth, and a deep cherry red or copper color.
- Second-class brickwork uses ground-molded bricks, which have a rough and irregular shape. They’re usually burnt in kilns, and they offer great durability and strength.
- Third-class brickwork is made with poor quality bricks that are rough with unfair edges. They’re ground-molded and burnt in clamps and are typically unusable for areas that experience lots of rain.
You likely have first-class brickwork, as this is the best option for permanent structures. First-class bricks are the strongest and most durable type of brick, though the other classes have their uses.
Final Thoughts
Brick and concrete repairs seem like they’d be complex, but they’re not as difficult as they look. With the right tools and a good understanding of how to fix bricks, you can easily make some basic repairs yourself. If you need a professional’s help, make sure to find someone with good reviews that asks for a fair price. While you might be able to do some repairs yourself, don’t risk injury or damage. Hire a professional if you don’t feel comfortable making the repairs or if they require a lot of work.
Frequently Asked Questions:
1. Can I repair broken bricks myself? Yes, minor brick repairs can often be done by yourself, especially if the damage involves only a few bricks with isolated cracks or chips. You’ll need basic tools like a chisel, hammer, mortar mix, and replacement bricks that match the existing ones. However, for extensive damage or structural issues, it’s advisable to hire a professional.
2. What are the common causes of brick damage? Brick damage can be caused by several factors, including water erosion, salt damage from deicing, expansion or contraction due to temperature changes, and structural issues like foundation movement. Identifying the cause of the damage is crucial before attempting repairs.
3. How do I replace a damaged brick? To replace a damaged brick, you’ll need to remove the broken brick using a chisel and hammer, clean the area, and prepare new mortar. Insert the new brick and apply mortar around it, ensuring it is flush with the surrounding bricks. Maintain the moisture of the new mortar for proper curing over the next few days.
4. What is tuckpointing, and why is it necessary? Tuckpointing is the process of repairing and renewing the mortar joints between bricks. This technique is essential for maintaining the integrity of a wall and preventing moisture from entering and damaging the structure. It involves removing old mortar, cleaning the joints, and applying new mortar.
5. How much does brick repair cost in Canada? The cost of brick repair can vary widely depending on the extent of damage and the nature of the repairs needed. On average, professional masonry work might cost around $120 per hour in Canada. For specific pricing, it’s best to obtain quotes from several local masons.
6. What is the difference between brick repair and brick restoration? Brick repair focuses on fixing functional issues and damage to restore structural integrity, often by replacing or repairing damaged bricks and mortar. Brick restoration goes further to bring the masonry back to its original aesthetic appearance, using materials and techniques that match the historical context of the structure.