This image shows a construction worker wearing a blue hard hat and working on repairing or maintaining a brick chimney on a roof. The worker is crouched down and appears to be inspecting or making adjustments to the chimney. The roof is made of wooden shingles, and there is a clear sky in the background.

Chimney repair – A complete Guide

Most people don’t give their chimney much thought – until there’s a problem. Then, it’s suddenly very important! If you’re having issues with your chimney, it’s important to get them fixed as soon as possible. Chimney repair can be a big job, but it doesn’t have to be overwhelming. This guide will walk you through everything you need to know about repairing your chimney.

Masonry Chimney 101

A chimney made of masonry can be made out of many materials, including concrete, bricks, mortar, concrete block and concrete block, cast iron and steel, and flue tile.

These materials can be very vulnerable to rainwater damage if they’re not properly installed or maintained.

External factors can cause serious damage to extremely porous chimneys.

Common Chimney Problems

A Chimney is an important part of your home, providing ventilation for your fireplace or stove. It’s also one of the most vulnerable parts of your home, exposed to the elements and subject to wear and tear. Over time, your chimney can develop problems that need to be repaired.

Cracks

Cracks in the crown or firebox can be considered fire hazards under the NFPA.

The reason for this is that smoke from a chimney can contain waste particles from a fire.

The black smoke that comes out of a chimney is

These small particles can build up and accumulate inside cracks in the masonry.

This illustration shows the buildup of a chimney flue. It can cause a fire hazard.

Brick cracks can lead to small areas of carbon buildup and waste particles. Some of these could be flammable.

Creosote (an oily substance) is the real culprit. Creosote (an oily substance) is a very similar substance to soot and can ignite by sparks.

Creosote, a flammable chemical, is formed from smoke and vapors of burning wood.

Please Click Here for a Complete Article about Creosote.

Chimney repair

If creosote buildup is more than 1/4 inch, it’s time to have a chimney cleaned.

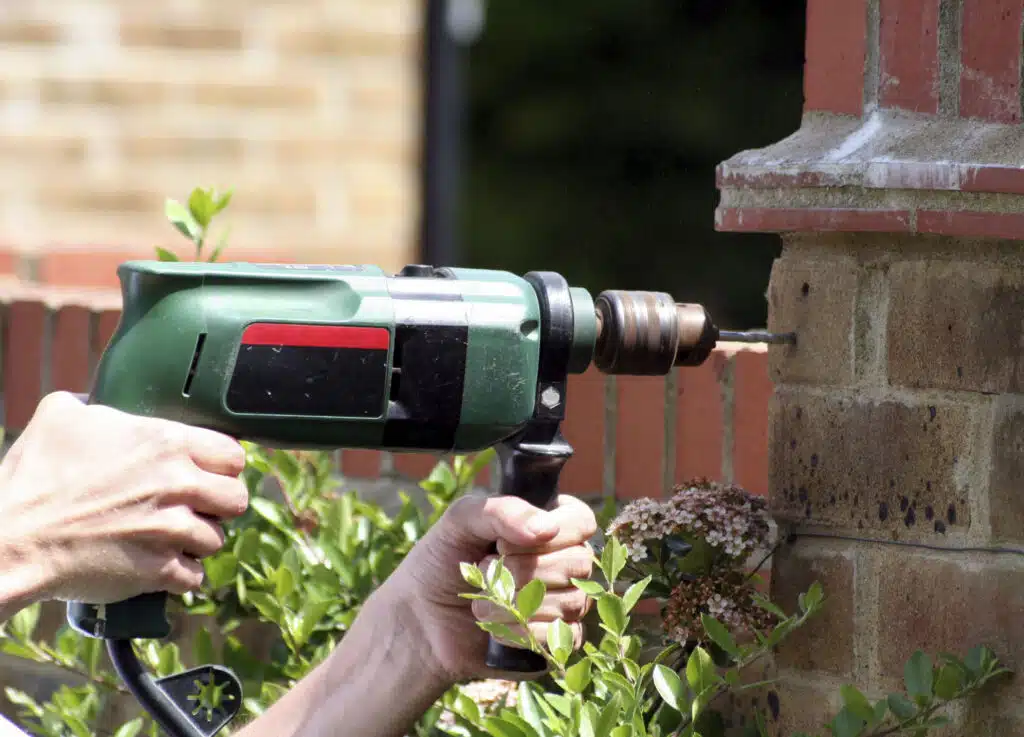
Look for cracks in mortar around the chimney and fireplace.

Every day, more than 61 chimney fires are lit in the United States.

Don’t panic if cracks develop in your fireplace or chimney.

Fireplace cracks can be repaired quickly. Fire risk could increase if it is not fixed promptly.
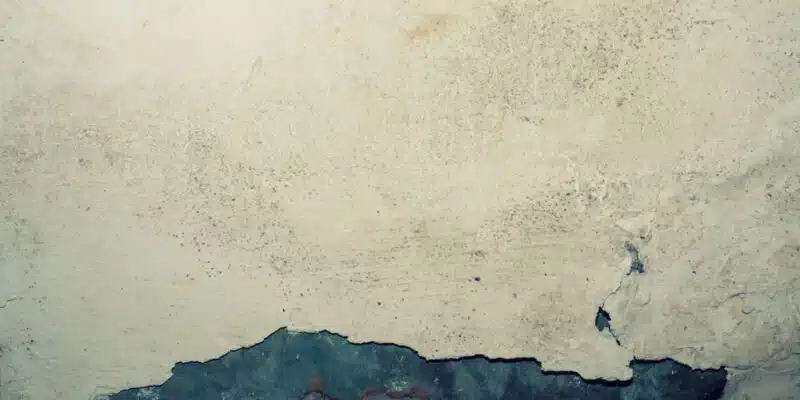
Water Penetration

Water penetration can occur at multiple points.

While water penetration can lead to mold growth, destruction, and other serious consequences,

When water reacts with creosote, it becomes acidic. This accelerates brick and mortar decay in fireplaces and chimneys.

Water can get into the chimney through cracks in the crown or chimney shelf.

This can also happen due to defective flashing at the roof–the to-chimbal junction.

Water damage can occur to exterior mortar and interior walls.

To avoid all these dangers, keep a schedule for chimney inspections. Make sure that there is no water infiltration inside any chimney or fireplace.

These water-repellent treatments (also called “waterproofing”) can keep water from your chimney

Crown of Chimneys Broken

The chimney crown, which is located at the top of a chimney, acts as a shield against a number of dangers.

The crown should have an upward slope that directs water away from the flue edges. This prevents mortar or brick from eroding along the vertical chimney surfaces.

A properly constructed chimney crown should be overhanging, made from Portland cement-based mix.
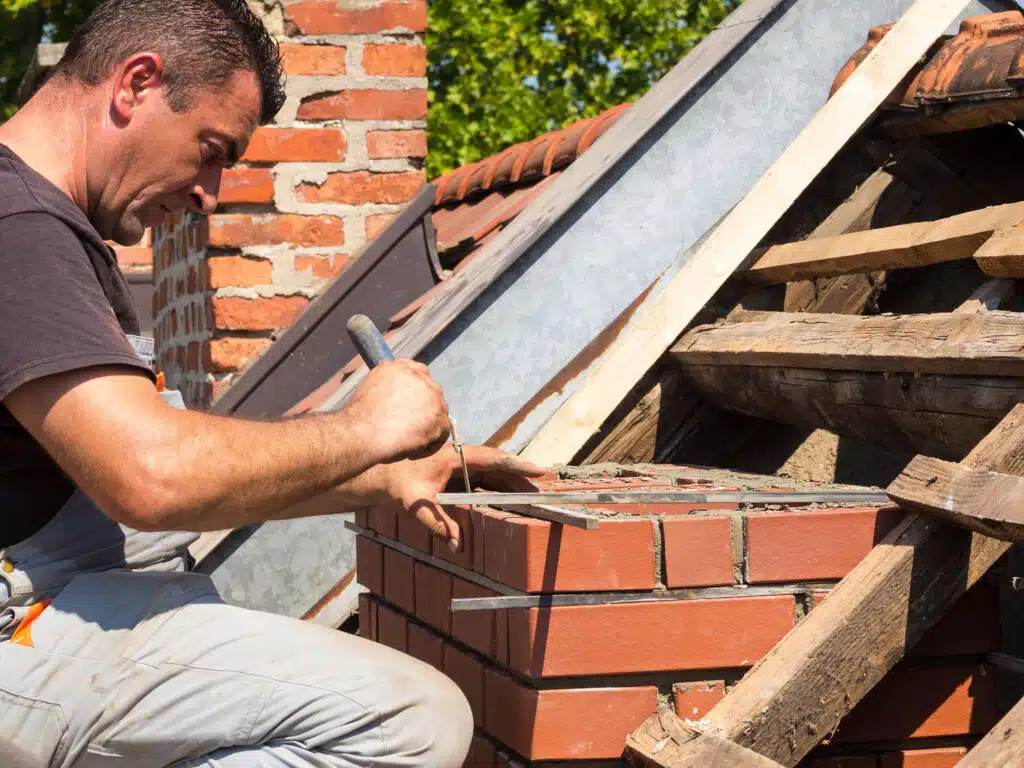
Faulty Flashing

Flashing is the process of sealing the space between the chimney and the roof to keep rainwater out.

It is basically an expansion joint that’s made from two different materials. It allows the chimney and roof to expand and contract at the right rates, without causing any damage.

Here’s an example of flashing which allows water to enter a house that is under construction.

Incorrect Dimensions

If your Chimney is the incorrect dimensions, it will not function properly. The Chimney should be at least 2 feet taller than anything within a 10-foot radius of it. If it isn’t, you could have serious drafting problems. In addition, the Chimney should have a cap that is at least 3 inches wider than the Chimney opening.

Caps that are too small allow rain and snow to enter the Chimney, which can cause serious damage. If you don’t have a cap, or if yours is the wrong size, call a professional to have one installed.
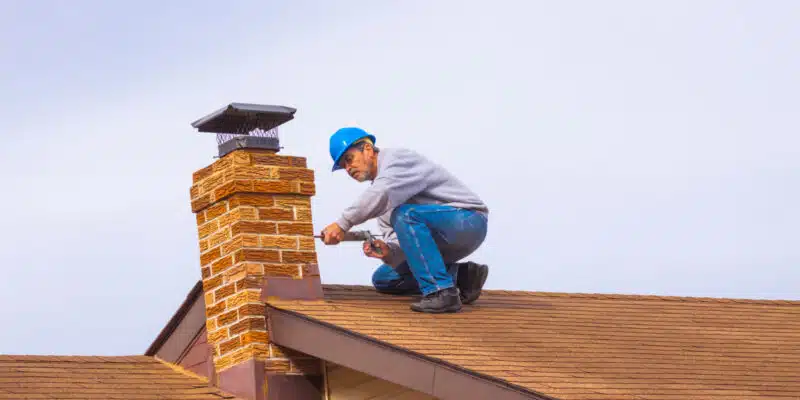
Chimney Caps

A cap is required to prevent water from entering your chimney. This will prevent birds and squirrels from getting into your chimney opening. This is basically a way to get rid of any clutter in your home, such as leaves.

You can also use a cap to keep your home safe from animals that might enter your chimney and cause a fire. A Chimney cap will also help you save money on your heating bill.

If you live in an area where it snows, you need to make sure that your chimney is clear of any snow or ice. If there is any buildup, it can cause your chimney to collapse.

Chimney Deterioration

Bricks, mortar, and other building materials can be damaged by being left in the elements.

Damage to chimney walls is slowly occurring from external elements

A falling chimney is an indication that it is time to rebuild. Bricks are not viable anymore.

Chimney repair

Leaning Chimneys

Has your chimney been checked by a professional to ensure it is not leaning? A lean chimney can cause serious damage to your property, and even collapse.

This is a list of common problems that can occur with your fireplace or chimney.

It is recommended that chimneys be inspected annually to ensure safety and prevent costly repairs.

Inspect your fireplace and chimney every month to ensure that there are no problems.

A 5-minute annual visual inspection can help you save thousands on chimney and fireplace repairs.

A quick checklist for inspecting chimneys and fireplaces.

Check your fireplace for cracks or loose bricks.

Be sure to check the firebox for cracks or broken bricks.

Make sure the damper is off.

Check the chimney exterior for cracks and damage.

Repair any cracks or damage to your fireplace before you use it again.


This image shows a textured, weathered surface with a mottled, grayish-white background. The surface has a rough, granular appearance, with small speckles and spots scattered throughout. Towards the bottom of the image, there is a dark, irregular shape or pattern that appears to be a stain or discoloration on the surface. The overall impression is of an aged, worn material, possibly a concrete or stone surface that has been exposed to the elements over time.

How to Remove Paint from Brick & Concrete

Choose The Right Paint Remover

There are many types of paint removers on the market, and not all are created equal. You need to select a product that is specifically designed for removing paint from masonry surfaces. These products will have labels that say they are safe for use on brick, stone, or concrete.

Some common active ingredients in paint strippers are methylene chloride, caustic soda, and d-limonene. Methylene chloride is a powerful solvent that can dissolve most types of paint. Caustic soda is a strong alkali that will also remove paint. D-limonene is derived from citrus fruits and is less harsh than the other two options.

If you’re not sure which product to use, ask a professional at your local hardware store for guidance.

Prepare The Surface

Before you begin stripping the paint, you need to take some precautions to protect yourself and the surface you’ll be working on. Paint strippers contain harmful chemicals, so it’s important to work in a well-ventilated area. If possible, work outdoors or in a garage with the door open.

You should also wear gloves, goggles, and a respirator to avoid contact with the chemicals. Make sure to cover any areas you don’t want stripper on, such as vegetation or concrete surfaces.

Apply The Paint Stripper

Once you’ve selected a paint stripper and put on the proper safety gear, you’re ready to start applying the product. Follow the manufacturer’s instructions carefully. In most cases, you’ll need to apply a thick layer of stripper with a paintbrush or roller and then wait for it to work its magic.

The amount of time you’ll need to wait will vary depending on the type of paint and the stripper you’re using. After the specified time has passed, use a wire brush or putty knife to scrape off the paint.

You may need to apply a second coat of stripper if the paint isn’t coming off easily. Once all the paint has been removed, wash the area with soap and water to remove any residual stripper.

Identify the type of paint that is on the surface

This will determine the best method of removal. Try to remove as much of the paint as possible before using any harsh chemicals or solvents.

If the paint is water-based, you can use a pressure washer with detergent to remove it. If the paint is oil-based, you will need to use a chemical stripper.

Before using any chemicals, always test them on a small, inconspicuous area first.

Wear protective clothing, including gloves and eye protection, when working with any chemicals.

 How to remove paint from brick

Follow the instructions on the product label for safe and effective use

Once the paint is removed, you may need to neutralize the surface with a mild acid, such as white vinegar, to remove any residual chemicals. Rinse the area well with clean water and allow it to dry completely before repainting.

Choose an appropriate solvent or stripper

The first step is to identify the type of paint that is on the bricks. This will determine what kind of stripper or solvent you need to use. Water-based paints can be removed with painting strippers or caustic soda. Oil-based paints require the use of petroleum distillates.

Test the removal method on a small area first

Once you have determined what kind of solvent or stripper to use, it is important to test it on a small, hidden area of the brickwork first. This will help you to gauge how effective the chosen method will be, and whether there is any risk of damage to the bricks themselves.

Apply the solvent or stripper to the paint

Once you are happy with the test area, you can begin to apply the solvent or stripper to the rest of the painted surface. Be sure to follow the instructions on the packaging carefully.

Allow the solvent or stripper to work

After you have applied the stripper or solvent, you will need to allow it time to work. This usually means leaving it for a few hours, although in some cases it may be necessary to leave it overnight.

Scrape off the paint

Once the solvent or stripper has had time to work, you should be able to scrape off the paint fairly easily. A putty knife or scraper should do the job nicely. If there are any stubborn areas of paint remaining, you may need to repeat the process.

Wash away any residue

Once all the paint has been removed, it is important to wash away any residue from the stripper or solvent. This will ensure that no harmful chemicals are left behind. A simple solution of water and dish soap should do the trick nicely.

How to remove paint from brick

Allow the bricks to dry completely

Once you have finished washing away the residue, you should allow the bricks to dry completely before painting them again or applying any sealant. This usually takes a few hours, although in some cases it may be necessary to leave them overnight.

Apply the solvent or stripper and wait for it to take effect

For most products, you’ll need to wait 15-20 minutes. Use a stiff brush to remove the loosened paint. If necessary, apply a second coat of stripper and repeat the process. Once all the paint has been removed, wash the area with soapy water and allow it to dry thoroughly. You may need to sand the surface lightly before repainting or staining.

Scrape off the paint with a wire brush or scraper

For paint that’s tougher to remove, mix a solution of 1 part trisodium phosphate (TSP) and 4 parts water. Apply the solution to the painted surface with a sponge, then scrub with a stiff brush.

Rinse the area well with clean water and allow it to dry completely before painting. If the bricks are very absorbent, you may need to seal them before painting.

If you’re using a power washer to remove paint from brick or concrete, be sure to hold the wand at least 12 inches (30 cm) away from the surface to avoid damaging it. Use a low-pressure setting and move the wand back and forth across the surface as you work. Rinse the area well with clean water when you’re finished.

Rinse the surface with water and allow it to dry completely

If the paint is fresh, you may be able to remove it with a putty knife or other sharp object. Gently scrape the paint away from the surface of the brick.

For older paint, you’ll need to use a chemical stripper. Be sure to follow the manufacturer’s instructions carefully, as some strippers can damage the brick.

Once the paint has been removed, rinse the area with water and allow it to dry completely before repainting.

This image shows a close-up view of a brick wall undergoing repair or renovation. The wall has areas of damaged and peeling plaster or stucco, revealing the underlying brickwork. A power drill with a drill bit is visible, indicating that the person is likely drilling into the wall, possibly to secure new materials or repair the damaged sections. The image focuses on the textured, weathered surface of the wall and the tools being used to address the issues.

How to Drill Into Brick

Choose The Right Drill Bit

The type of drill bit you’ll need to use will depend on the job you’re planning to do. For most projects, a standard masonry drill bit will suffice. These bits are designed for use with a power drill and will easily bore through brick.

If you’re working with particularly hard bricks or planning to do a lot of drilling, you may want to invest in a carbide-tipped masonry bit. These bits are more expensive than standard masonry bits, but they stay sharper for longer, making them ideal for tougher jobs.

Attach The Drill Bit

Once you’ve selected the right drill bit, it’s time to attach it to your power drill. Make sure the drill is turned off before you begin.

If you’re using a standard masonry bit, simply insert the shank (the un-toothed end) into the drill’s chuck and tighten it until it’s snug. If you’re using a carbide-tipped bit, you’ll need to first insert a pilot drill into the chuck. This is a small drill bit that will create a guide hole for the carbide bit. Once the pilot drill is in place, insert the carbide bit into the pilot drill and tighten both in the chuck.

Prepare The Area

Before you start drilling, take a few moments to prepare the area where you’ll be working. Cover any surfaces nearby that could be damaged by flying debris, and clear away any loose bricks or other obstacles that could get in your way.

Mark The Spot

Once the area is prepared, it’s time to mark the spot where you’ll be drilling. Use a pencil or chalk to draw a dot or X on the brick where you want the hole to be. This will give you a starting point to work from and help ensure that your drill bit doesn’t wander.

Start Drilling

With the drill bit attached and the area prepared, you’re finally ready to start drilling. Put on safety goggles or glasses to protect your eyes, and hold the drill so that the bit is lined up with your mark. Then, switch on the drill and apply steady pressure as you bore into the brick.

If you’re using a standard masonry bit, you shouldn’t have any trouble drilling through the brick. If you’re using a carbide-tipped bit, however, you may need to apply a little more pressure to get started. Once the bit starts biting into the brick, it should drill through relatively easily.

Take Your Time

Drilling through brick isn’t a race, so there’s no need to hurry. Go slowly and steadily, and let the drill do the work. If you push too hard, you risk breaking the drill bit or damaging the bricks.

Drilling through brick can create a lot of dust, so it’s a good idea to wear a dust mask to protect your lungs. If possible, drill outdoors or in a well-ventilated area to minimize the amount of dust you’re exposed to.

How to drill into brick

Monitor The Temperature

Drilling through brick generates a lot of friction, which can cause the drill bit and the bricks themselves to heat up quickly. Keep an eye on the temperature of both, and take a break if either starts to get too hot.

Let The Dust Settles

Once you’ve drilled through the brick, it’s important to let the dust settle before continuing with your project. Wait a few minutes for the dust to settle, then use a vacuum or damp cloth to clean up any remaining debris.

Now that you know how to drill into brick, you can tackle all sorts of projects around your home or office. With the right drill bit and a little patience, you can easily bore through brick to create the perfect hole for your needs.

Use A Level To Keep The Bit Straight

Wearing safety goggles, hold the drill bit at a 90-degree angle to the brick. If necessary, use a hammer to help drive the bit into the brick. Start the drill on low speed and then increase the speed once it has caught. Use a level to keep the drill bit straight as you drill.

Apply Firm, Steady Pressure

As you drill, apply firm, steady pressure. Don’t push too hard or the bit will slip. If the bit starts to slip, reposition it and try again.

Use A Masonry Bit

For best results, use a masonry bit designed for use with brick. These bits have sharp, carbide tips that can cut through brick quickly and easily.

Masonry bits come in a variety of sizes. Choose the size that is appropriate for the job at hand. For example, if you need to drill a large hole, you will need a larger bit than if you only need to make a small hole.

How to drill into brick

Keep Your Hands Clear Of The Drill While It’s In Use

.If you’re not using a drill press, make sure to keep your hands clean of the area where the bit will be exiting the brick.

Wear Protective Gear. You should always wear gloves and safety glasses when working with power tools.

Choose The Right Drill Bit. To drill into brick, you’ll need to use a masonry bit. These bits are made of carbide or diamond and are much harder than standard metal or wood bits.

Mark The Location Of The Hole With A Chalk Line Or Pencil. Use a level to make sure your home is straight, then mark the spot with a chalk line or pencil.

Start Drilling Slowly And Increase Speed Gradually. Apply firm, even pressure as you start drilling. Once the bit has penetrated the surface of the brick, you can increase speed.

Let The Bit Do The Work. Don’t apply too much pressure, as this can cause the bit to slip or break.

Cool, The Bit Frequently. To extend the life of your drill bit, it’s important to keep it cool while you’re working. Every few minutes, stop drilling and allow the bit to cool in a cup of water.

Remove The Dust Regularly. Drilling into brick creates a lot of dust. To avoid breathing in this dust, which can be harmful, make sure to remove it regularly with a vacuum or brush attachment.