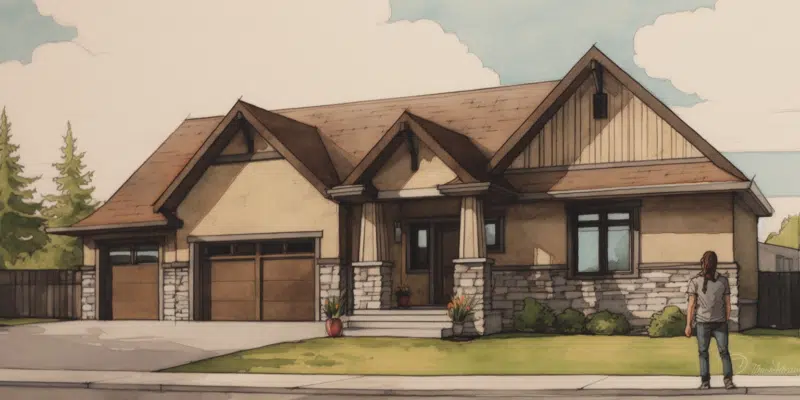
The Benefits of Stone Skirting for Your Home’s Foundation
Stone skirting is an investment that adds value to your home. It offers several benefits like insulation, moisture prevention, cost-effectiveness, and an aesthetic appeal.
- Insulation: Stone skirting acts like an extra layer between the foundation and ground. It reduces heat loss in winter and keeps the house cool in summer.
- Moisture Prevention: Stone skirting helps stop moisture from entering the foundation, avoiding mold, rotting wood, or structural damage.
- Cost-effective: Stone skirting costs less than traditional concrete foundation walls with rebar reinforcement and permits.
- Aesthetic Appeal: Various stone materials like faux stone or natural rock can make your home’s exterior look better while improving durability.
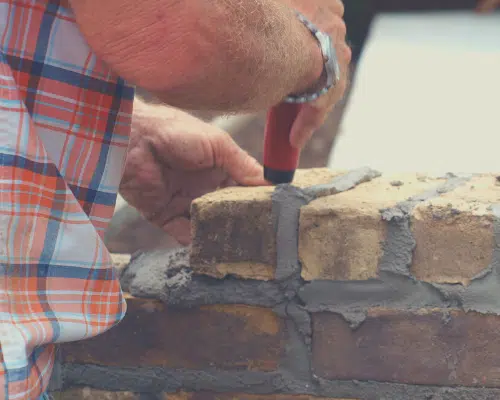
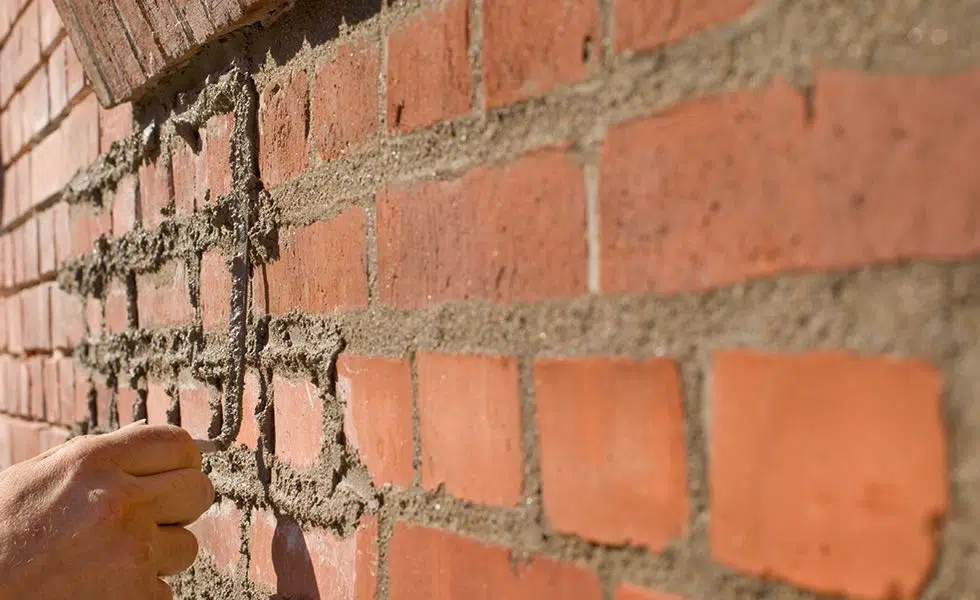
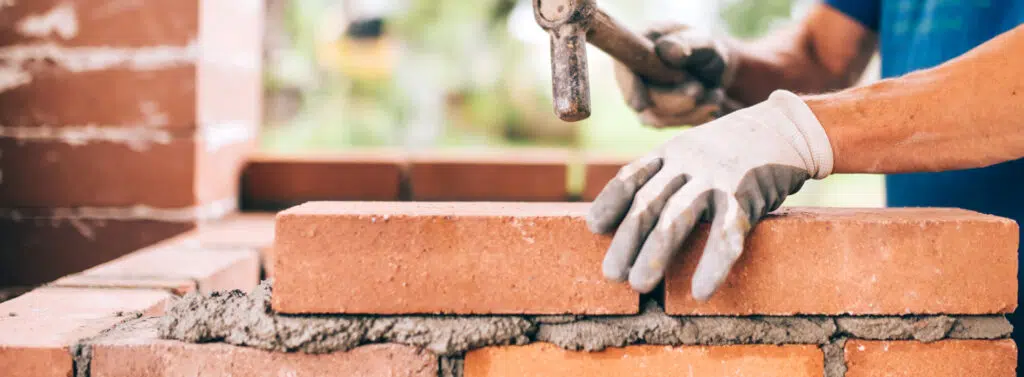
Stone skirting installation shouldn’t be a DIY project. Expert masons have the experience to ensure perfect integration of stone skirting with your existing house structure.
Centuries ago, ancient civilizations used stones around home foundations to keep rodents away. This time practice is still visible in modern stonework style. Nowadays, stone skirting is installed not only for security, but also as an attractive architectural feature. Upgrade your foundation with stone skirting and make your neighbors jealous!
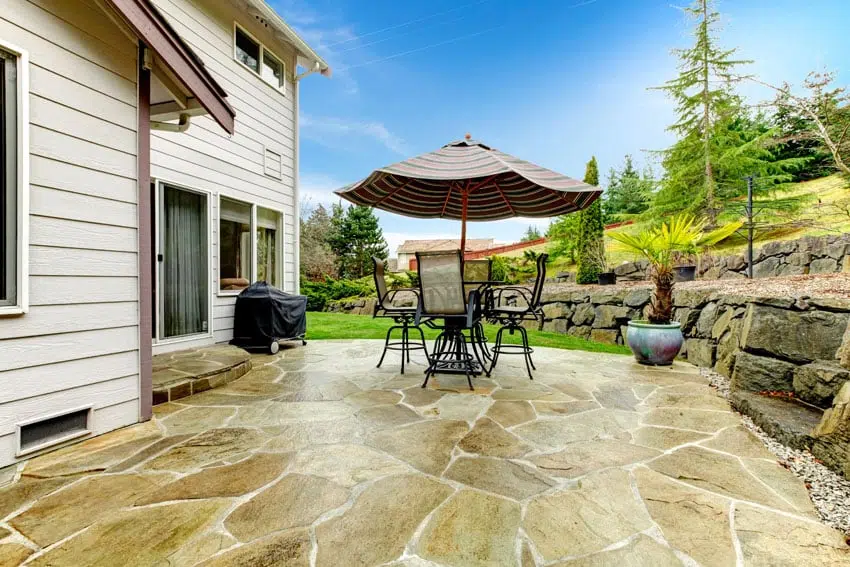
Increased Curb Appeal
Stone skirting for your home foundation is a great way to increase its curb appeal. Here’s why:
- 1. It adds an elegant touch that helps your home exterior look even better.
- 2. Natural stone accents different architectural styles.
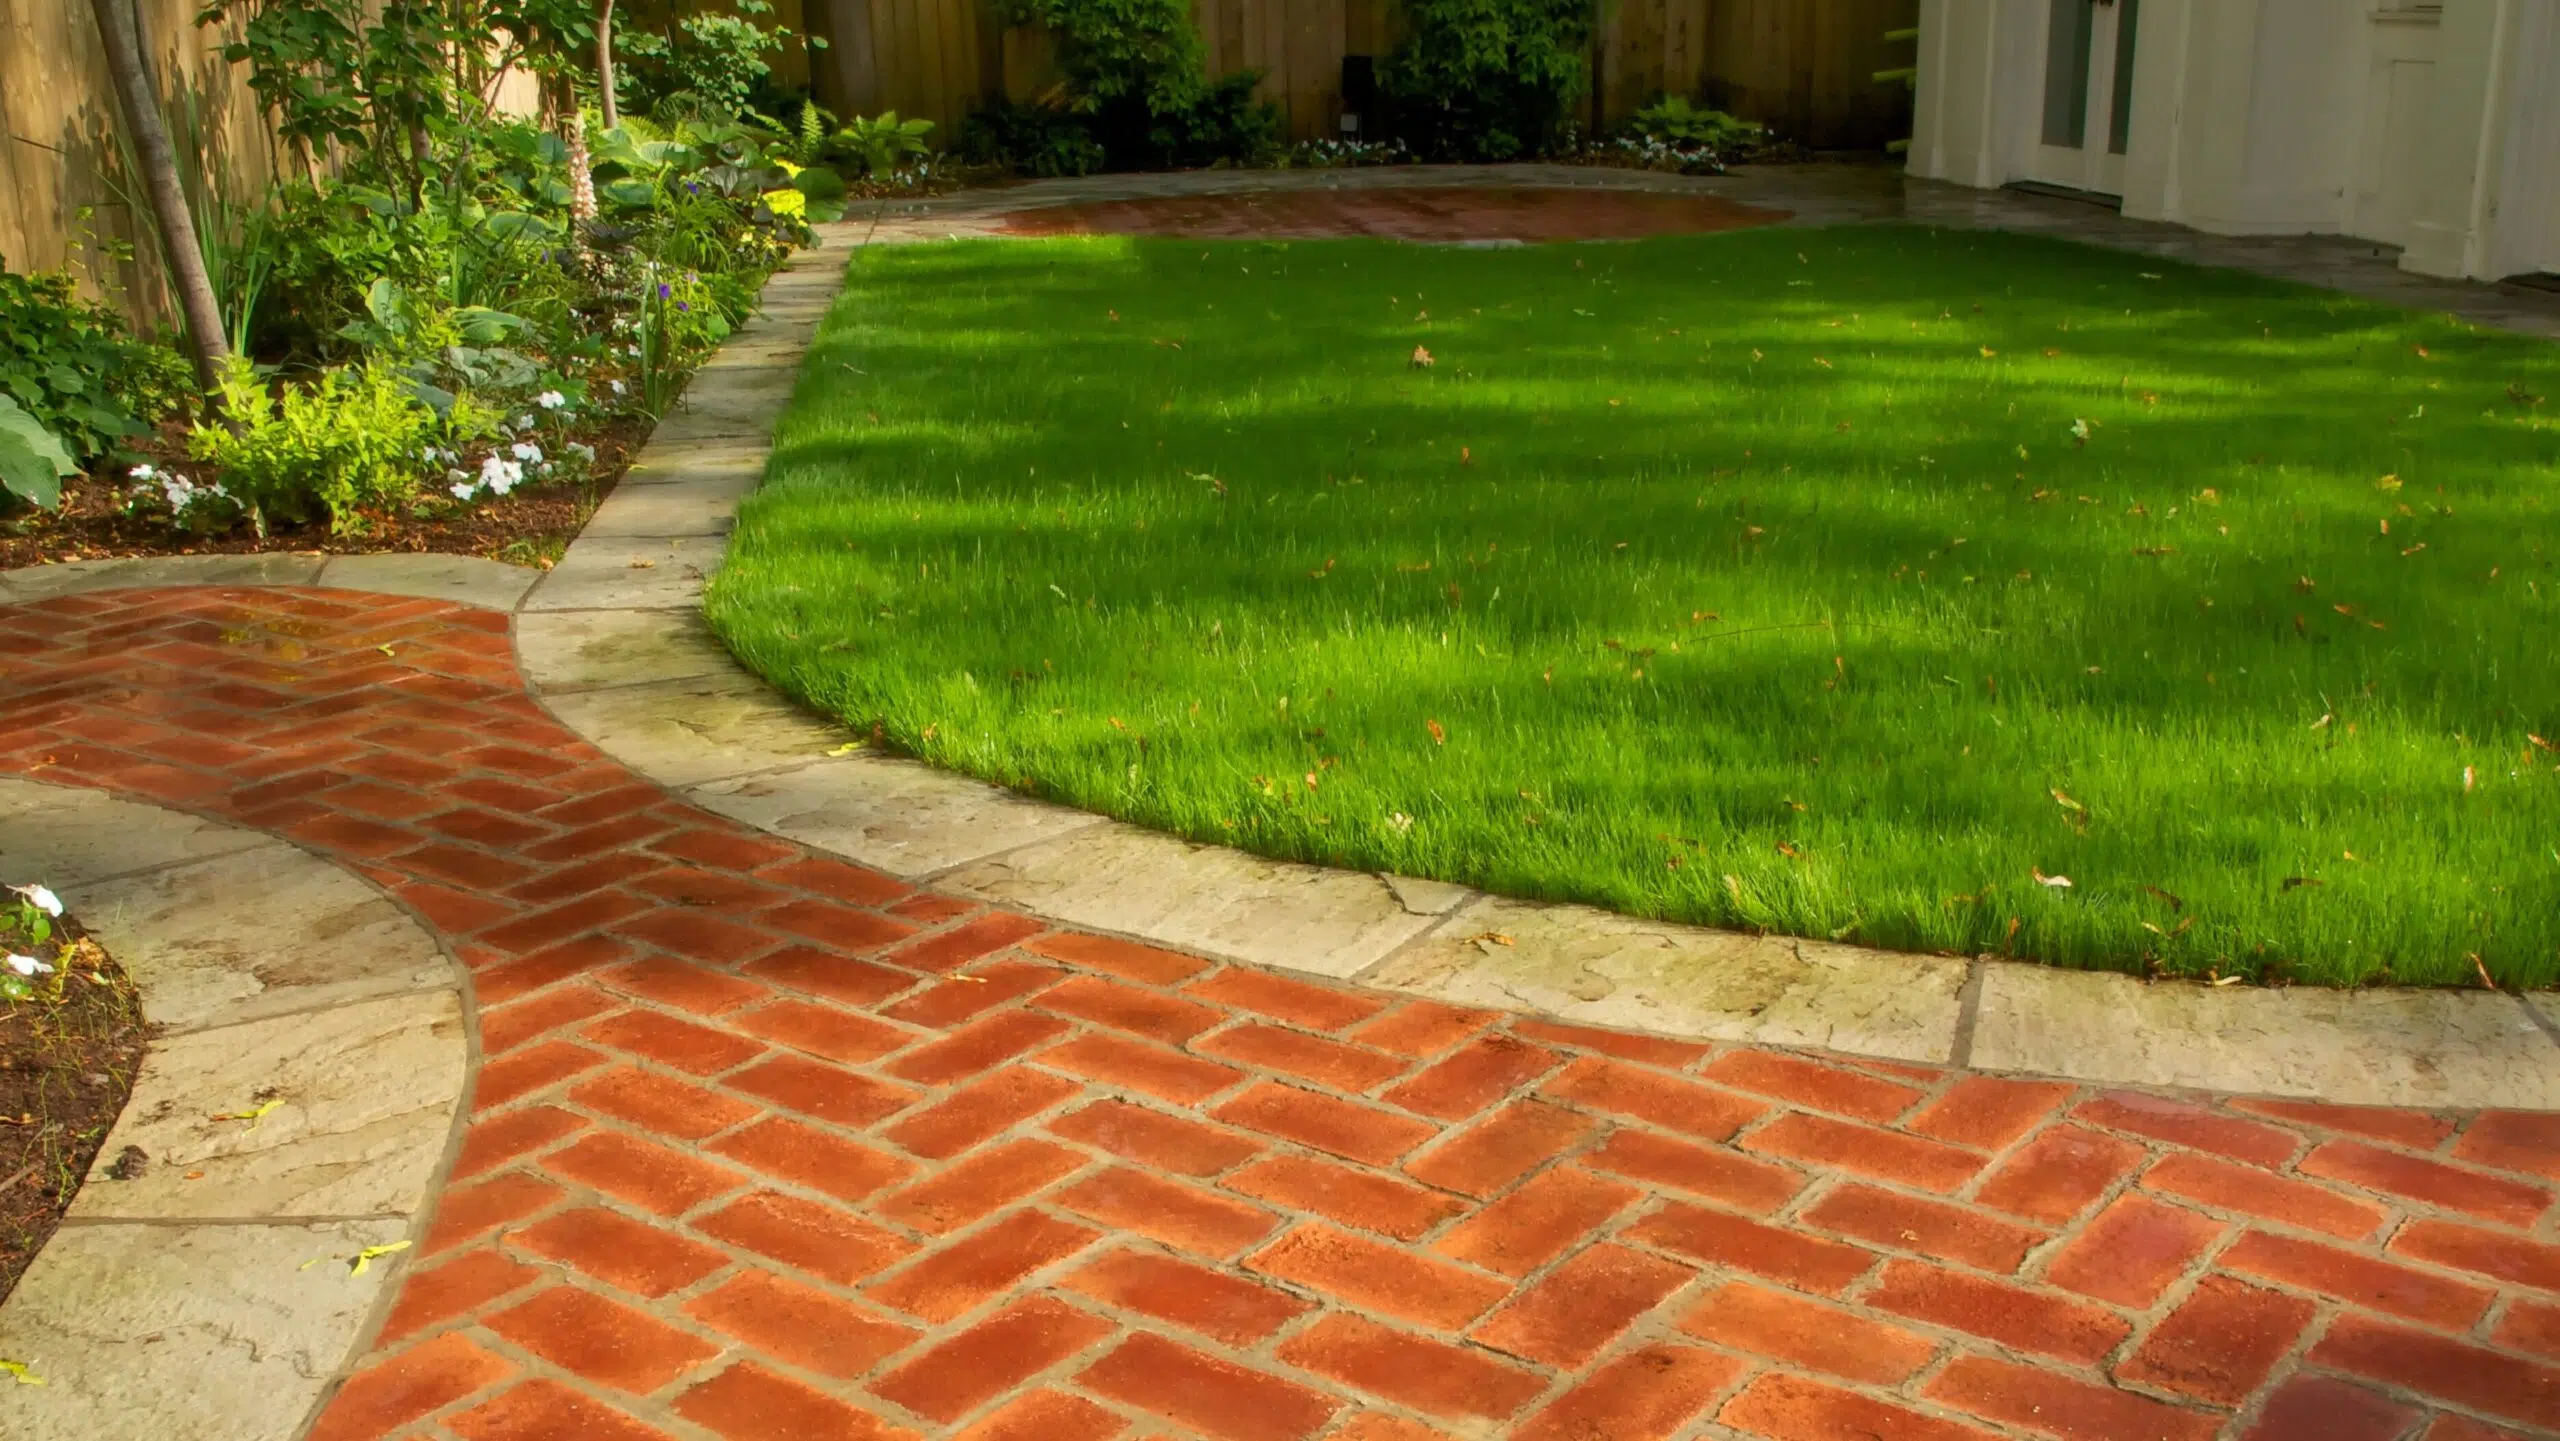
- 3. It creates a seamless transition between the landscaping and your home, making it pleasing to the eye.
- 4. Stone skirting increases your home value.
- 5. It catches people’s attention, which could be beneficial if you plan on selling.
Choose stone skirting to get a unique look for your house foundation. And, customize it to fit your preferences without sacrificing functionality or durability. Your home will thank you – it’s a bond that lasts longer than a Kardashian relationship!
Long-Term Durability
Stone skirting is an excellent choice for the long-term endurance of your home’s foundation. It offers high-quality protection and prolonged durability. Natural stone is used to construct it, as it is extremely durable and can endure harsh weather conditions, like wind, water, and extreme temperatures. Plus, minimal maintenance is needed.
Also, stone skirting has resistance against elements such as corrosion and UV radiation, providing additional protection for the foundation of your house. For the best results, choose a professional and experienced masonry service provider that offers warranties on their workmanship. Enjoy draft-free homes and lower energy bills with stone skirting!
Energy Efficiency
Stone Skirting gives your home’s foundation a boost! It creates a natural barrier, reducing heat transfer. So, your heating and cooling systems don’t have to work as hard, saving energy and lowering bills.
Plus, the space under a raised foundation provides extra ventilation, keeping mold and mildew away. Stone Skirting also looks good and provides protection against pests and elements. It can withstand harsh weather too!
To really optimize energy efficiency, add foam boards behind the Stone Skirting. This prevents thermal bridging and heat flow, providing extra warmth in cold months and minimizing heating costs.
Stone Skirting: your home’s Mary Poppins-style shield against windy gusts!
Protection from Elements
Stone skirting delivers protection from nature’s elements. This masonry technique shields the house foundation from heavy rain, fierce winds, and snow. Installing stone skirting avoids water seepage, stopping pricey repairs to your foundation.
Plus, stones act as an insulator. The natural stones contain amazing thermal resistance, guarding against heat loss from the base. Stones are robust and low-maintenance materials, providing long-lasting protection.
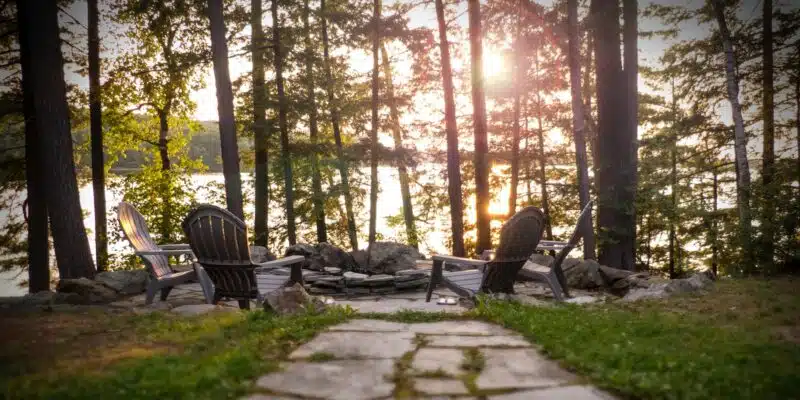
Stone skirting adds a rustic, elegant look to your home exterior. With plenty of options in the market, you can pick patterns that suit your taste and style. On top of that, it boosts the value of your property with improved curb appeal and resell price.
Make the most of stone skirting’s many benefits for your home’s foundation! Get a professional mason to install it today! Upgrade your home from drab to fab with stone skirting – you won’t regret it!
Improved Property Value
Stone skirting for your home’s foundation offers multiple advantages, including an increase in property value! It looks visually appealing and is long-lasting. Plus, potential buyers will view your property in a positive light.
Quality natural stones boost the curb appeal of your property and give it a unique look. Plus, they’re resistant to fading, erosion, and moisture damage – so you save on repair costs.
Insulation and protection against extreme weather conditions also improve with stone skirting. So, why hesitate? Invest in quality stonework for your foundation now! You’ll be protecting your environment and your investment at the same time!
Environmentally Friendly
Stone Skirting is a great choice for your home’s foundation – not only is it visually appealing, but it’s also eco-friendly. Natural stones prevent harsh chemicals from entering the soil and groundwater, protecting our ecosystems from natural resource depletion.
It’s also a great insulator, keeping your home warm in cold temperatures. Although Stone Skirting may be more expensive initially, it’s a sustainable investment in the long run. It requires little maintenance and has a longer lifespan. Plus, it adds value to your property with its timeless elegance.
A California homeowner installed Stone Skirting two decades ago. Ten years later, they upgraded their HVAC unit, reducing energy costs and improving their home’s air quality. Two years ago, when they put their home up for sale, the stone skirting’s rustic charm and striking visual impact led to higher offers than expected.
Stone Skirting: the lazy homeowner’s dream come true! Enjoy a low-maintenance foundation and a timeless look.
Low Maintenance
Opt for stone skirting for your home’s foundation for minimal upkeep! Stone is strong and weather-resistant, so it looks great for years without needing repairs or replacements. Plus, it adds an aesthetic charm to your property with its natural look.
Moreover, stone skirting has a long history of being used in construction. It has been trusted for centuries due to its combination of strength and beauty. Plus, the investment can often be recouped if the home is sold.
Make your home’s foundation stand out from the crowd with stone skirting! It’s just as customizable as your social media profile and will add value to your home.
Customizable Design
Stone Skirting Design Customization:
Stone skirting offers lots of options to match the outside of your home. Different types, sizes and colors of stone can create a one-of-a-kind look.
Here’s a table with data on stones for customizing skirting designs:
| Stone Types | Sizes | Colors |
|---|---|---|
| Limestone | 12”x24”, 18”x36”, 24”x36”, 48”x48” | Grey, Beige, White |
| Granite | 12”x24”, 18”x36”, 24”x36”, 48”x48” | Black, Brown, Blue |
| Sandstone | 12”x24”, 18”x36”, 24″x36″,40″x60″ | Tan, Red |
This table shows the different stones available and their sizes/colors/span that can be used to make original stone skirting designs that suit any home.
Stone skirting also has practical advantages. It can save energy and protect against pests. Combining these features with design customization makes it a great investment for homeowners who want to add beauty and value.
Recently, a homeowner in Texas used local limestone around their home’s foundation to make it more attractive. They matched the design to their existing landscaping and improved the durability of the foundation. Natural stone requires no maintenance and lasts a long time. The homeowner recommended stone skirting as a great way to upgrade any home.
Upgrade your home’s foundation with stone skirting – it’s a good value and won’t leave you in a tight spot.
Cost-Effective Solution
Stone skirting is a budget-friendly option for homeowners. It won’t compromise on style or durability. This masonry solution beautifies the house and protects the foundation.
It adds character and texture to the exterior. It can raise the property value. Plus, it’s low on maintenance and has a longer life span than other options.
Stone skirting has superior insulation benefits. It keeps out harsh winter weather and keeps cool air flowing in summer.
Pro Tip: Hire a professional masonry contractor for installation and customization. An expert mason will make sure your stone skirting provides protection and beauty for years.
Frequently Asked Questions
1. What are the benefits of using stone skirting for my home’s foundation?
Using stone skirting for your home’s foundation provides several benefits, including increased durability, improved insulation, and enhanced aesthetics. Stone is a durable material that can withstand harsh weather conditions and resist damage from pests and rodents. Additionally, stone skirting improves insulation by creating a barrier that helps to keep your home’s interior comfortable and energy-efficient.
2. Will stone skirting make my home look more attractive?
Yes, stone skirting can enhance the aesthetic appeal of your home. With a wide variety of stone types, colors, and textures available, you can choose the perfect stone to complement your home’s style and landscaping. Stone skirting can also help to increase the value of your home by improving its curb appeal.
3. How long does stone skirting last?
Stone skirting can last for many years with proper maintenance and care. Stone is a natural material that is resistant to fading, cracking, and chipping, making it a great investment that will stand the test of time. Regular cleaning and sealing can help to maintain the appearance and durability of your stone skirting.
4. Is stone skirting difficult to install?
Stone skirting requires a certain level of skill and expertise to install properly. It is recommended that you hire a professional masonry contractor to ensure that your stone skirting is installed correctly and meets local building codes. A professional will also be able to provide advice on the best stone type, color, and texture to suit your home’s style and needs.
5. Will stone skirting help to protect my home from moisture and pests?
Yes, stone skirting provides a barrier that can help to protect your home from moisture, pests, and rodents. Stone is a solid material that resists damage from water and pests, making it an ideal choice for skirting your home’s foundation. Additionally, stone skirting can help to improve the ventilation and airflow in your crawl space, reducing the risk of mold and mildew growth.
6. How much does stone skirting cost?
The cost of stone skirting will vary depending on the size and complexity of your project, as well as the type of stone you choose. While stone skirting may be more expensive than other materials such as vinyl or wood, it is a durable investment that can ultimately save you money on maintenance and repairs in the long run.